Directions
See this recipe? I’ve wanted to share this with you all week. Over the past year, I’ve figured out that this is what happens when you’re a food blogger. You get excited about silly things like “sharing pie”, but have to think about timing. Friday seemed like a fun day, and a good day for a fun pie, so here we are.
We had my friend over on Sunday night for a little birthday celebration dinner, and this was our dessert. It’s one of those desserts that had all of us so busy “Mmmming” and “Ooooh, wowing” at the table that we didn’t have time for meaningful conversation.
That, my friends, is the sign of a dessert worth sharing.
I love s’mores. There’s something wonderfully nostalgic about making a s’more over a campfire in the summertime. That melty-mushy-gooey-chocolate-marshmallow-graham thing instantly takes me back to when I was a Girl Scout and when I attended summer camp with my friends. They make my heart happy. S’mores are also great party food. I’ve never met someone who doesn’t like them (and if I ever do, it will make me sad).
I ran across this pie on Epicurious.com. It’s from an old, back issue of Gourmet magazine. It looked simple enough, but after reading the reviews, I decided to make it even simpler. The original recipe calls for making homemade marshmallow for the top of the pie. I’m not afraid of homemade marshmallow (see here), and I’m actually a huge fan of it, but the reviewers weren’t sold on it, and I thought that using store-bought marshmallows may just make for a cuter pie anyway.
It’s all about the cuteness factor, isn’t it? I mean, really.
So, after bailing on the homemade marshmallow, I got to work.
First off, I needed a graham cracker crust. I made a homemade crust, because I happened to have graham cracker crumbs on hand. It’s a really simple crust to make, but I’m fairly certain you could use a store-bought graham cracker crust and be perfectly happy with your pie.
Before I made my crust, though, I took an egg out of the fridge and set it on the counter. You’ll notice, when you read the recipe, that the filling calls for an egg at room temperature. MAKE SURE YOUR EGG IS AT ROOM TEMPERATURE. We’ll get to the reason for that in a minute.
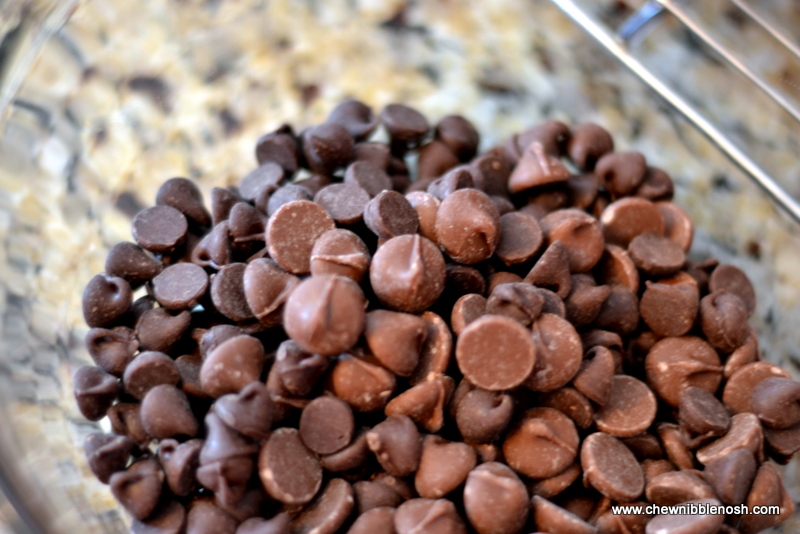
My crust didn’t take too long to cool, so once it was, I got to work on the filling. The recipe called for “fine-quality bittersweet chocolate”. I love dark chocolate, but when I think of a s’more, Hershey bars pop into my head. Plus, the filling was bound to be rich, and I thought that all dark chocolate might just push it over the edge and into too rich territory. I decided to use half semi-sweet chocolate chips and half milk chocolate chips in my filling.
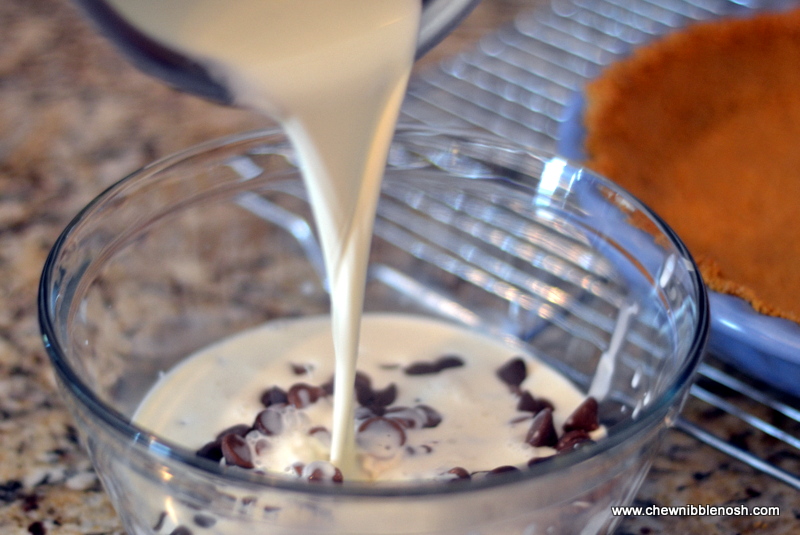
Once I’d measured out my chocolate, I heated some heavy cream on the stove just until it started to bubble. At that point, I poured the cream over my chocolate.
Once the cream was in, I let it all just hang out in the bowl for a minute so the chocolate could warm up. After a minute, I whisked the cream and chocolate together. It was perfectly melty, and looked like crazy rich hot chocolate.
Next, it was time for that egg. Remember that egg? After sitting on the counter for 30 minutes, it wasn’t ice cold any more. If I added a cold egg to the hot chocolate mixture, the cold would make the fats in the chocolate mixture harden up and the chocolate would curdle…and that would be tragic. I didn’t want curdled filling, I wanted smooth, creamy filling, so the egg had to be at room temperature.
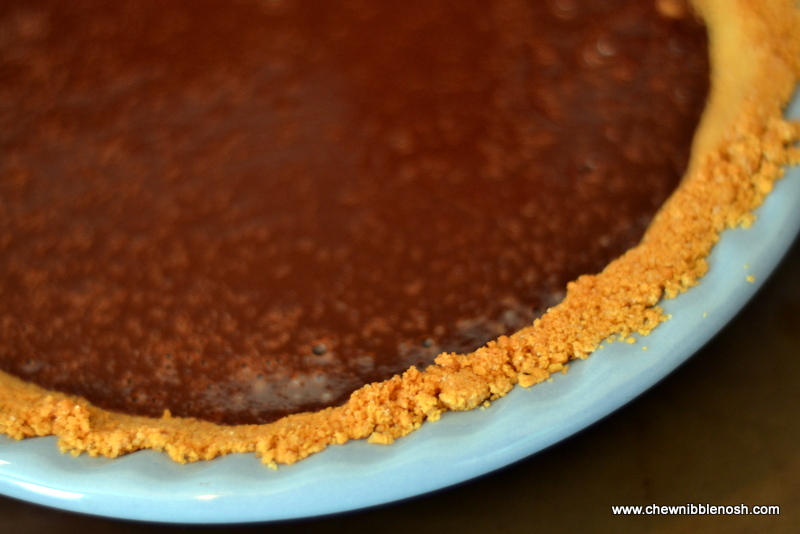
Once I whisked in my warmed up egg, I had a smooth, creamy, pudding like mixture that was ready to pour in the crust.
After 30 minutes in the oven, the filling set up and I let it cool.
Now, after the pie had cooled completely, I actually covered it with plastic wrap and popped it into the fridge for a day. I made this on Saturday and served it on Sunday. I love when I can entertain, but make everything ahead of time.
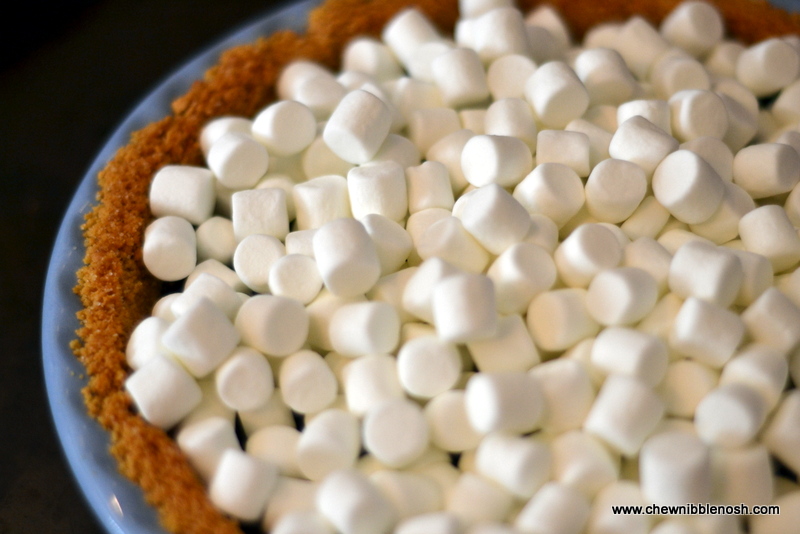
On Sunday, as we ate dinner, I let the pie come up to room temperature on the counter. When we were ready for dessert, I covered the chocolate with mini marshmallows. I didn’t even measure them, just poured them on until it looked like I had enough.
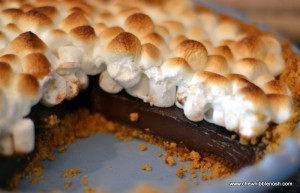
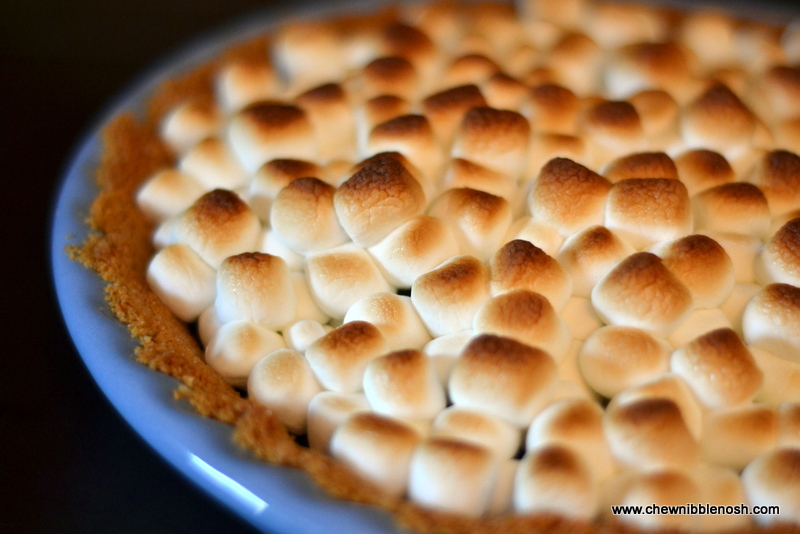
Then, the pie went under the broiler in the oven for just a few minutes. I watched it the entire time, and when I felt like the marshmallows were puffed and browned to my liking, I took the pie out. Much like roasting a marshmallow on a campfire, how long you roast a marshmallow topped pie in the oven is totally up to you.
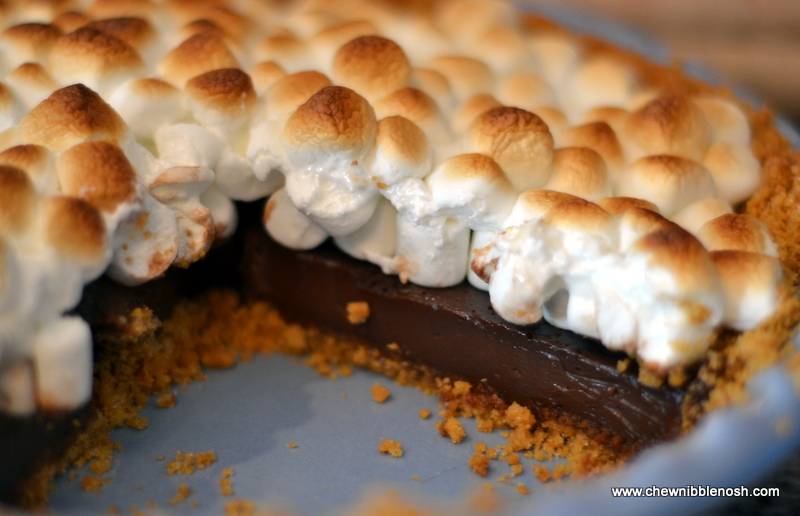
I let the pie sit for just a couple of minutes before I cut into it, so while I was waiting, I got a large glass of hot water and a big knife ready. This is a gooey pie, topped with some pretty sticky stuff. If you warm up your knife in hot water for a minute, and then wipe it off, before slicing into your pie, it will slice up pretty easily. Just be gentle with it. It’s worth it to take the time dipping the knife and slicing, I promise. Dip the knife before each dive into the pie.
Just writing about this pie makes me want to make it again. It was amazing. The filling is creamy, delicious, and rich, but not annoyingly rich, and the marshmallows on top were perfectly gooey with just that bit of campfire crunch on top.
It definitely made our hearts happy that night. Plus, as an added bonus, nobody got burned by a fire or bitten by a mosquito in the process.
CHOCOLATE S’MORE PIE
Adapted from Epicurious/Gourmet
**If you need a graham cracker crust recipe, try this one.**
- 1 9-inch graham cracker crust, baked and cooled completely
- 1/2 cup semi sweet chocolate chips
- 1/2 cup milk chocolate chips
- 1 cup heavy cream
- 1 large egg, at room temperature
- mini marshmallows
- Put oven rack in the middle of the oven and preheat to 350*. Put the chocolate chips in a medium-sized bowl. Bring the cream just to a boil over medium-high heat in a heavy saucepan. Pour hot cream over the chocolate chips and let the mixture sit for a minute before whisking the chocolate into the cream. Once the mixture is melted and smooth, gently whisk in the egg (Make sure it’s at room temperature!!) along with a pinch of salt until well combined and smooth. Pour into the graham cracker crust. The crust will be about half full.
- Cover the edge of the pie with foil or a pie shield and bake until the filling is softly set and just jiggles slightly in the center when moved, about 25-30 minutes. Cool the pie to room temperature. The filling will set up as it cools. Once the pie is cool, cover and chill until ready to use. (Can be made 1 day ahead of time.)
- When ready to serve:
- Bring the pie to room temperature.
- Preheat your broiler.
- Top the pie with mini marshmallows, until the chocolate is covered and pie plate is full. Transfer the pie plate to a baking sheet and broil, 3-4 inches from the heat, until the marshmallow topping is golden brown, about 3 minutes. Rotate to brown evenly, if necessary. Cool on a pie rack for 5 minutes before slicing. Slice the pie with a heavy knife dipped in hot water and then dried with a towel before cutting each slice.
- Store leftovers in the refrigerator.
- ENJOY!


