Directions
I’ve lived in the South for a good many years and one thing I’ve learned during my time here is, they like to fry stuff. A lot of stuff. You name it, they’ll fry it. I try to avoid fried foods, for the most part, but there are a couple of things that I just can’t resist when I see them on a menu. One of those irresistibles is a plate of fried pickles.
Have you ever had fried pickles? If not, you’re really missing out. I remember trying them for the first time when I was visiting San Antonio, Texas years and years ago. My husband and I saw them on the menu and thought they sounded so weird that, of course, we just had to try them. They were deliciously crispy, slightly spicy and salty…and instantly addictive. We were hooked and we have enjoyed finding them on restaurant menus ever since!
I try not to fry much of anything at home, if I can help it…but I’m not afraid to bake the heck out of anything. So, when I ran across this recipe for baked “fried” pickles, I decided to give it a try.
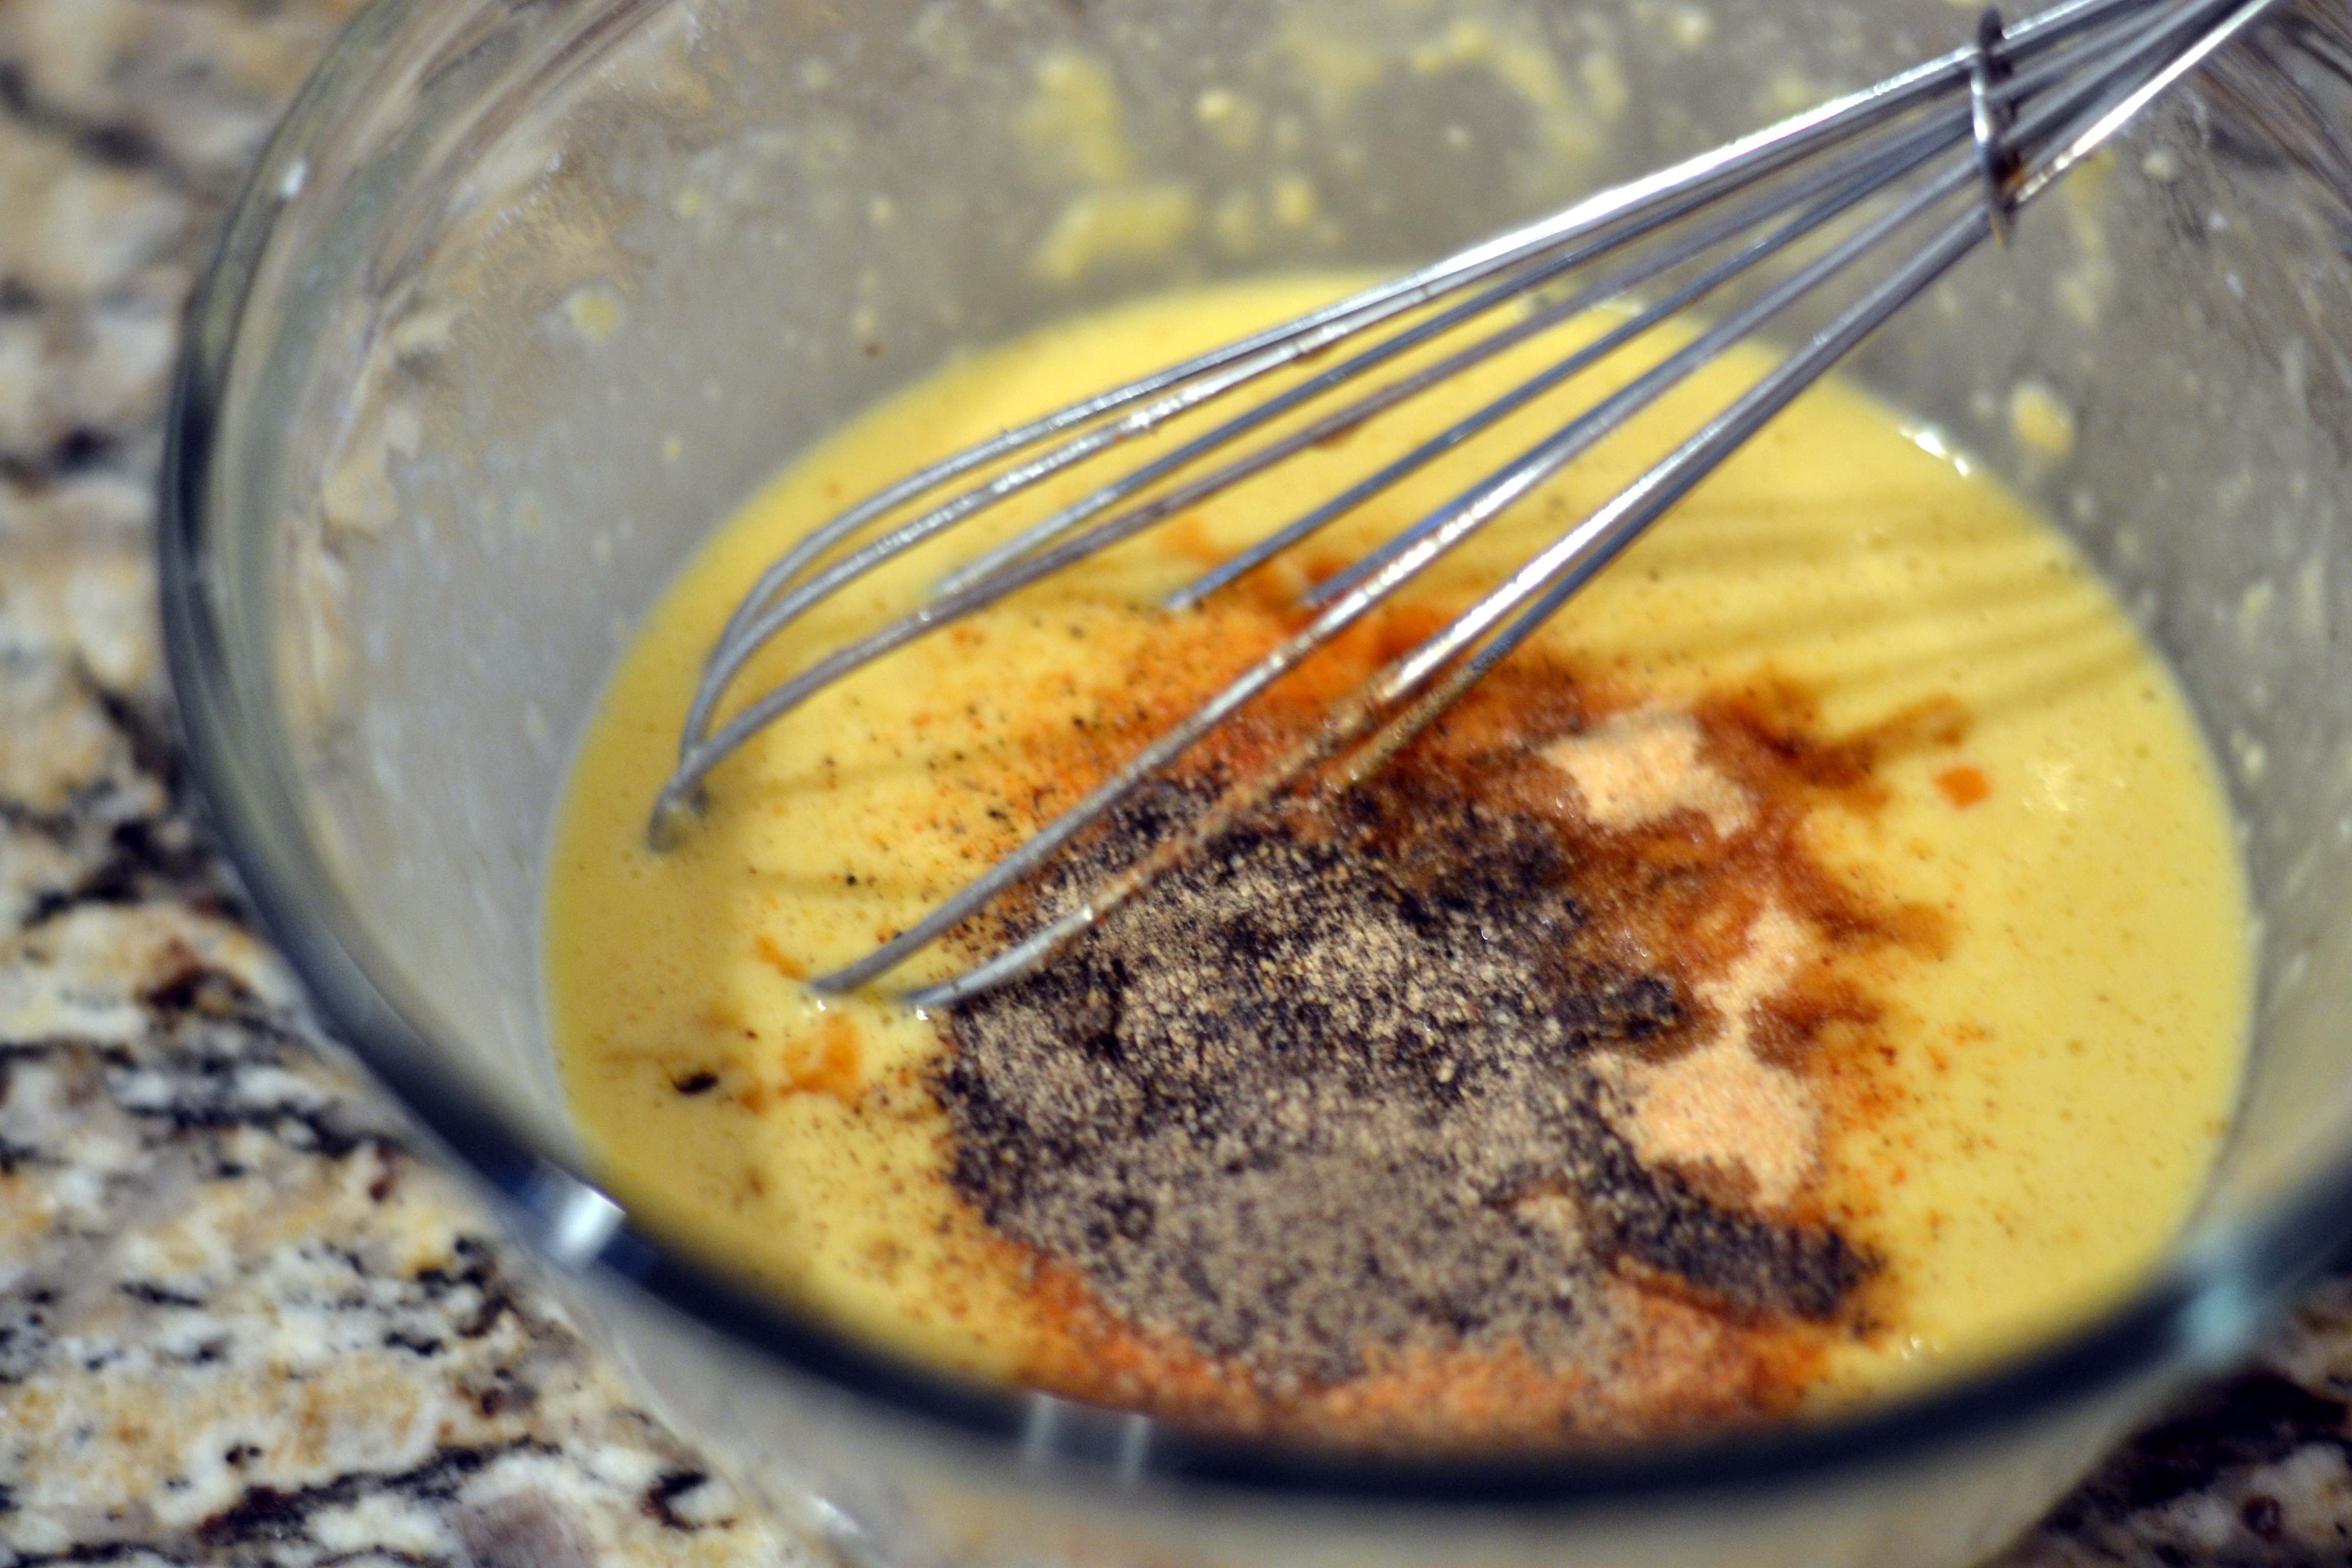
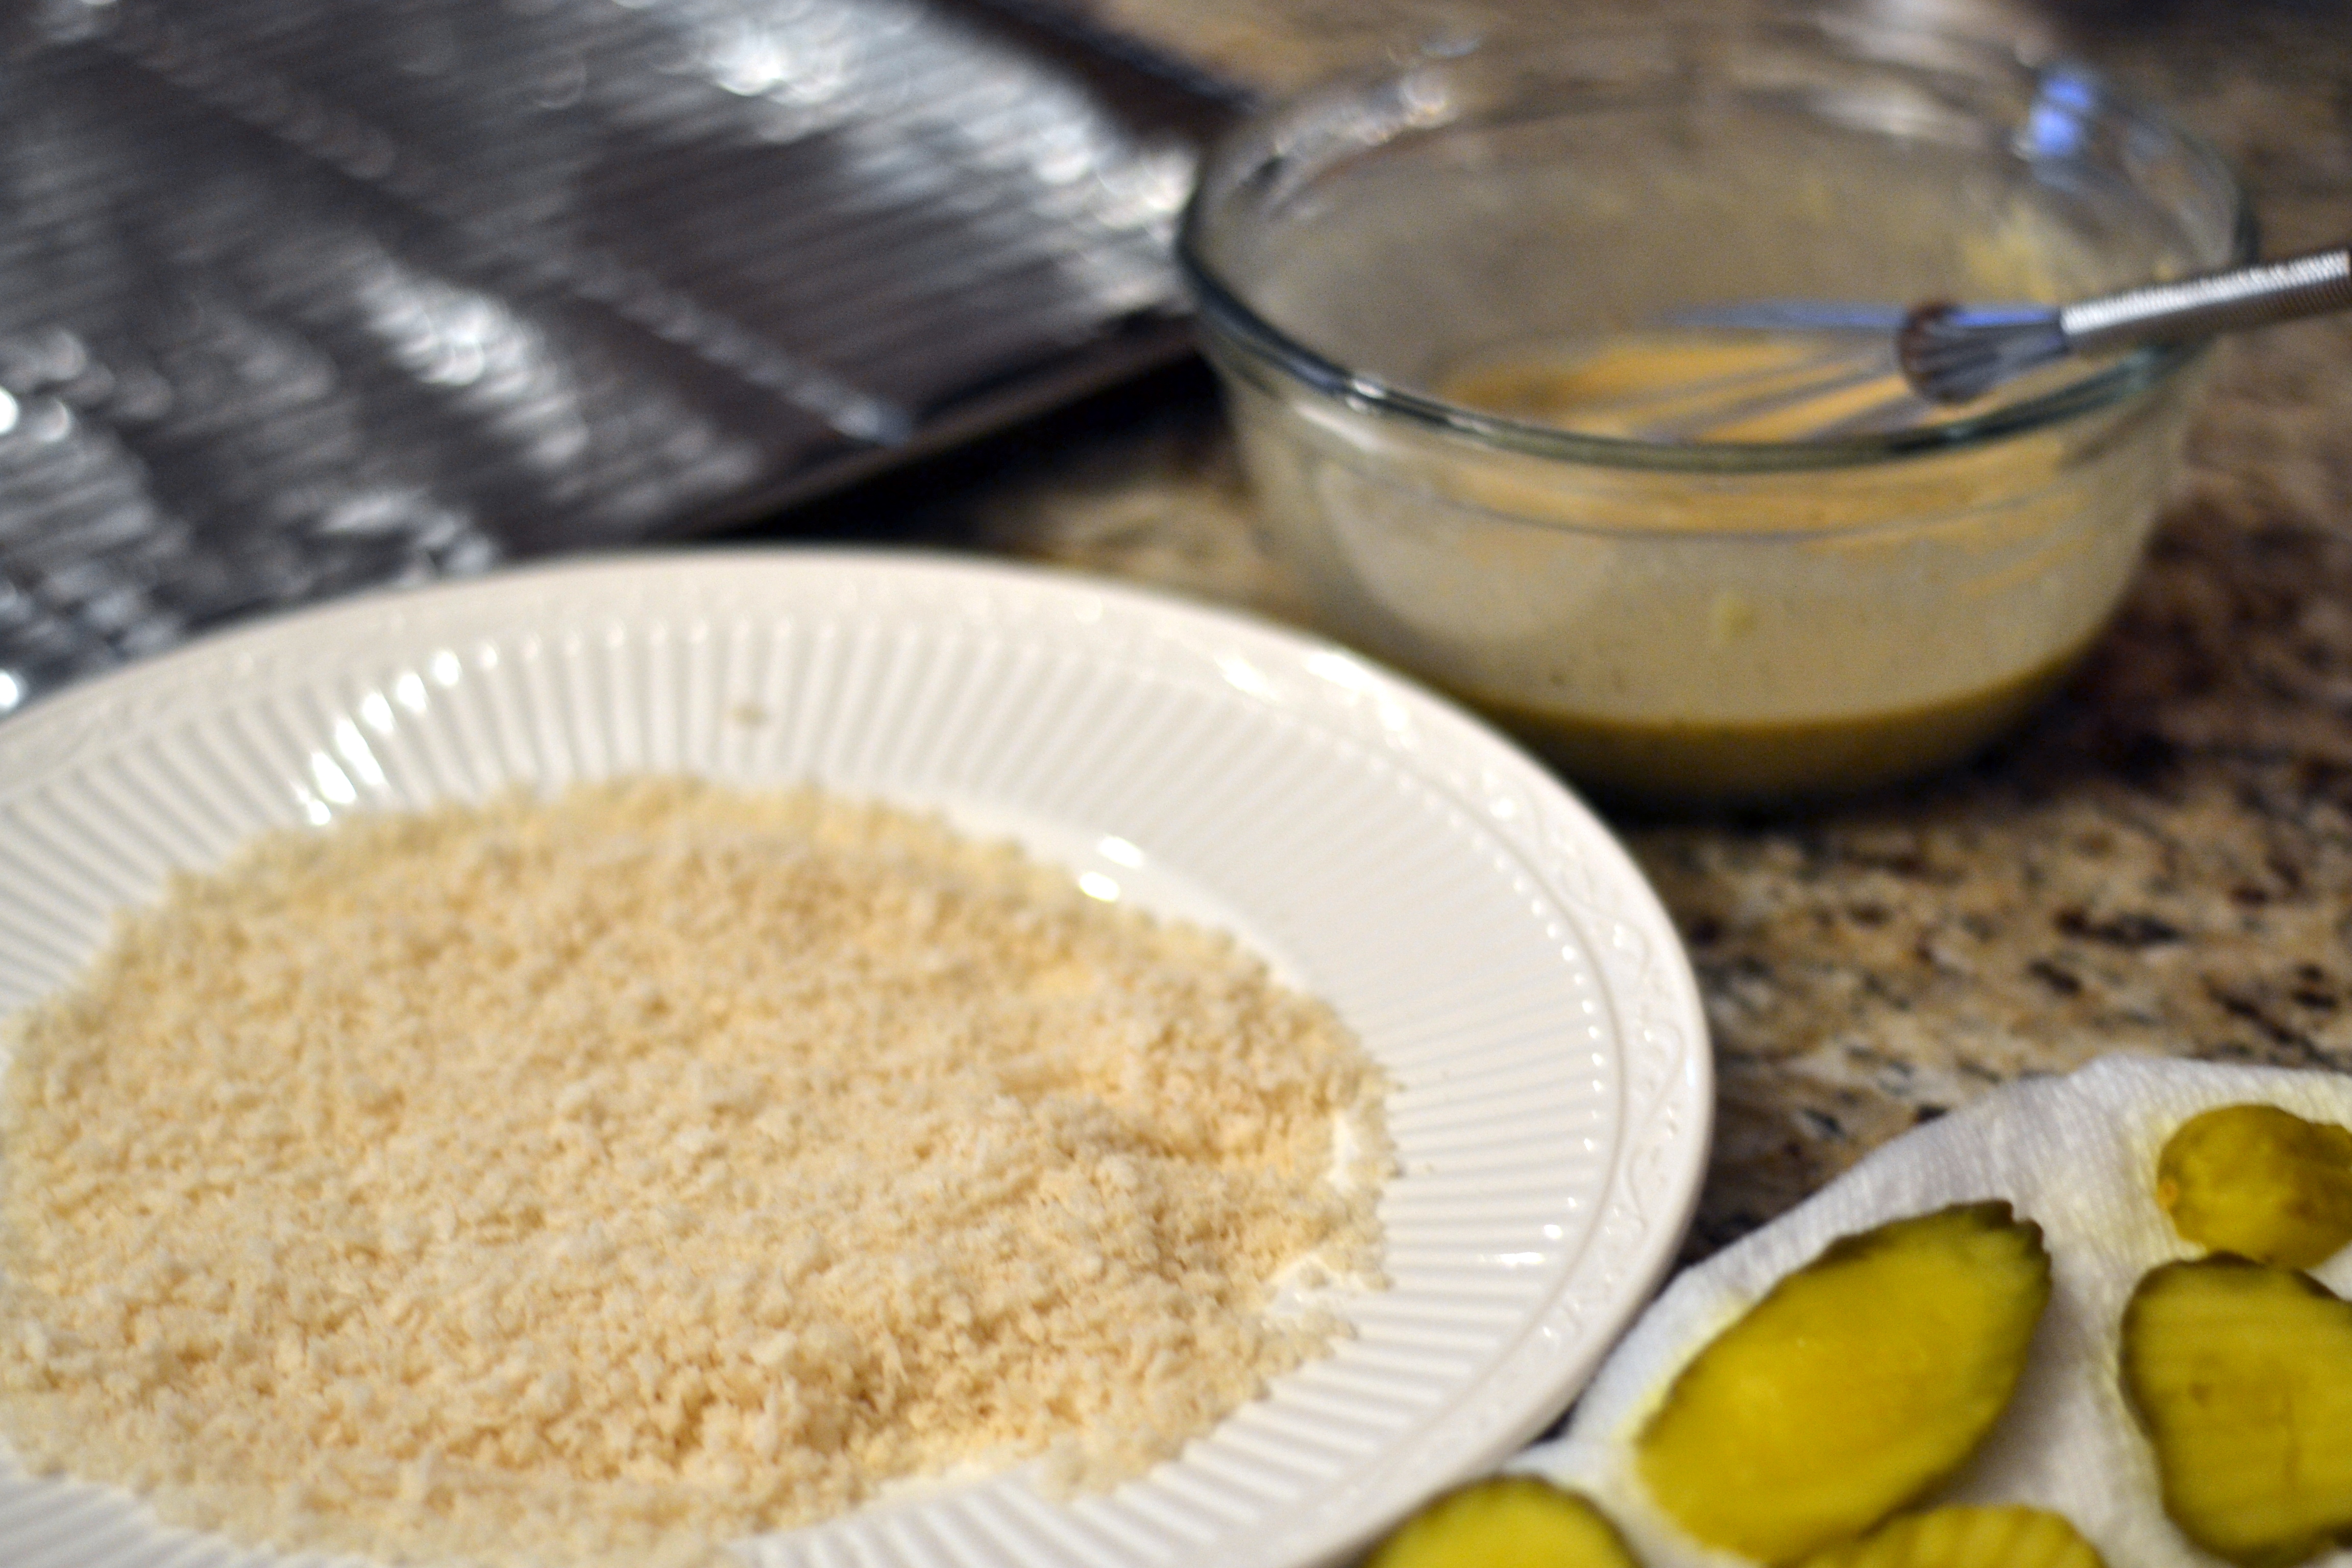
I started by laying a jar’s worth of dill pickle slices out on some paper towels, just to sop up the extra liquid, in an attempt to avoid soggy crumbs. While they hung out there for a minute, I whisked together an easy batter of flour, eggs, Worcestershire sauce, Tabasco, garlic powder, Cajun seasoning and some pepper.
Once the batter was ready and my pickles dried off a bit, I prepped my pickle dipping station. I covered a baking sheet with foil, topped it with a baking rack and sprayed it with nonstick spray. Then, I poured some Panko breadcrumbs out onto a plate for easy dredging.
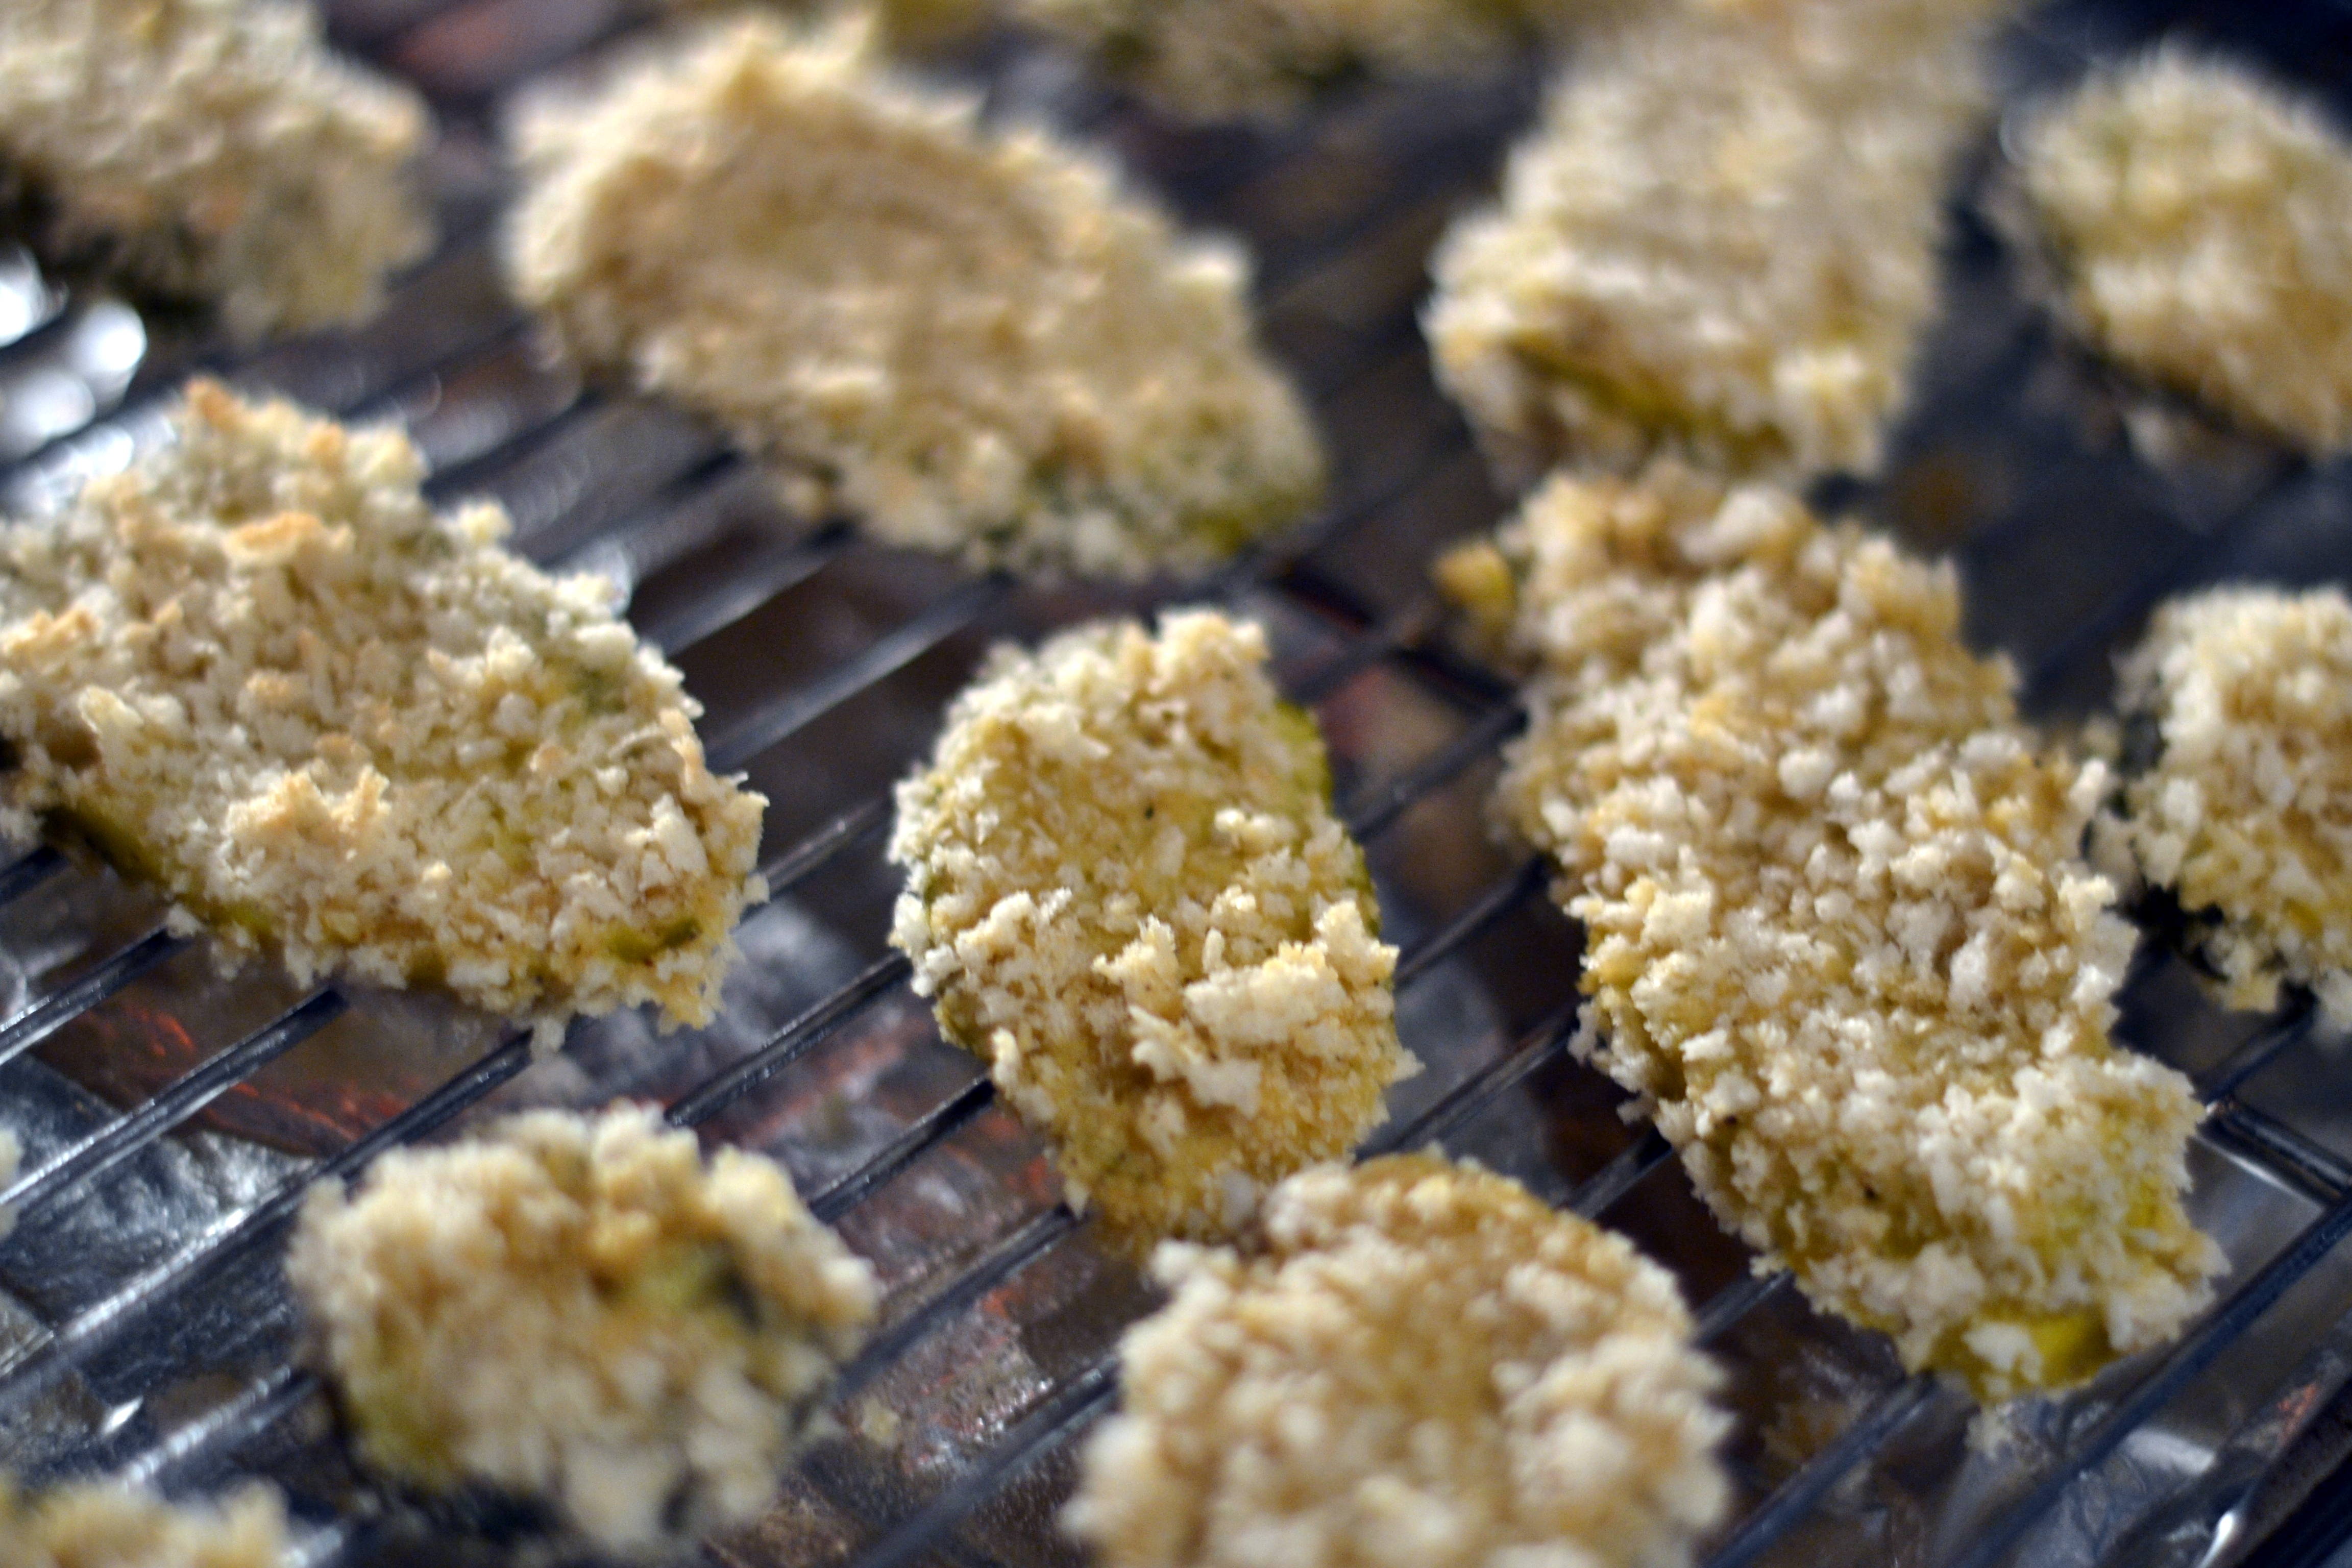
I carefully dipped each pickle slice in the batter, letting the excess drip off. Then, I placed it in the breadcrumbs, pressing the crumbs in a bit so I was sure they’d stick. I laid each pickle out on the baking rack. In just a few minutes, they were ready to pop in the oven!
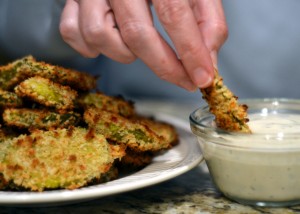
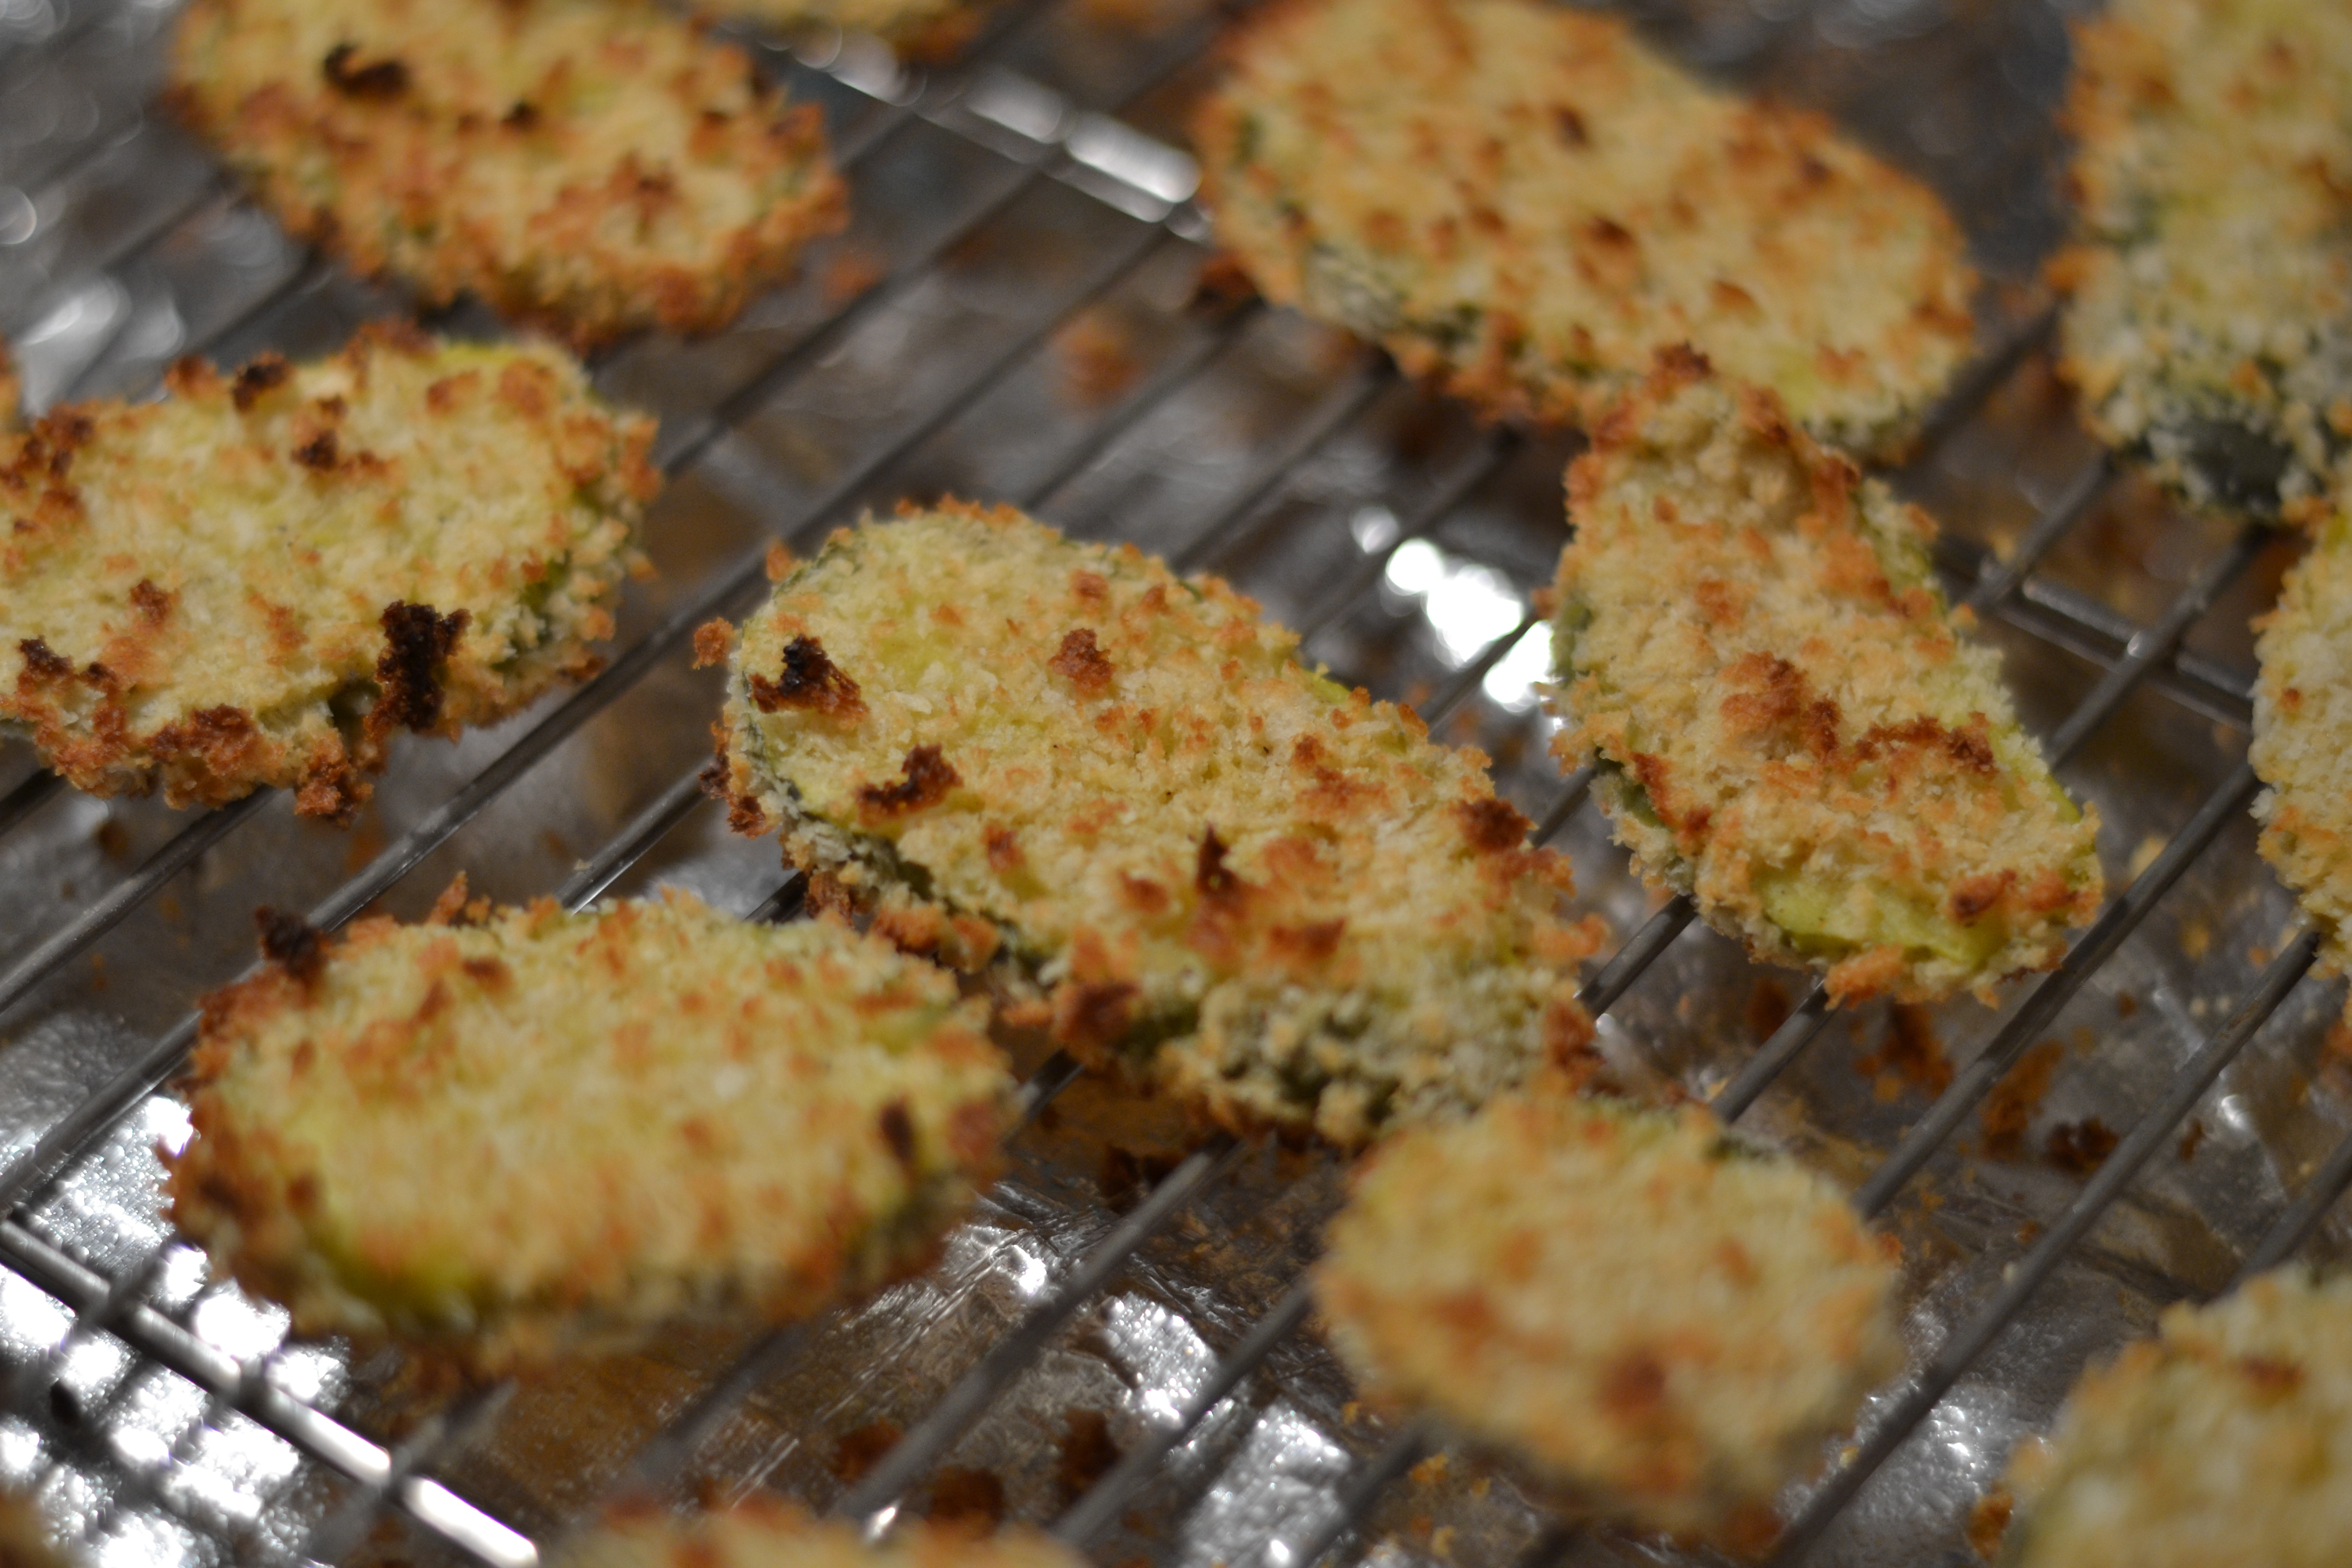
I had preheated my broiler and moved the oven rack a little closer to the heating element. After three minutes on one side, I turned the pickles over and let them bake for another two minutes. When I took them out of the oven, we’d reached crunchy pickle perfection!
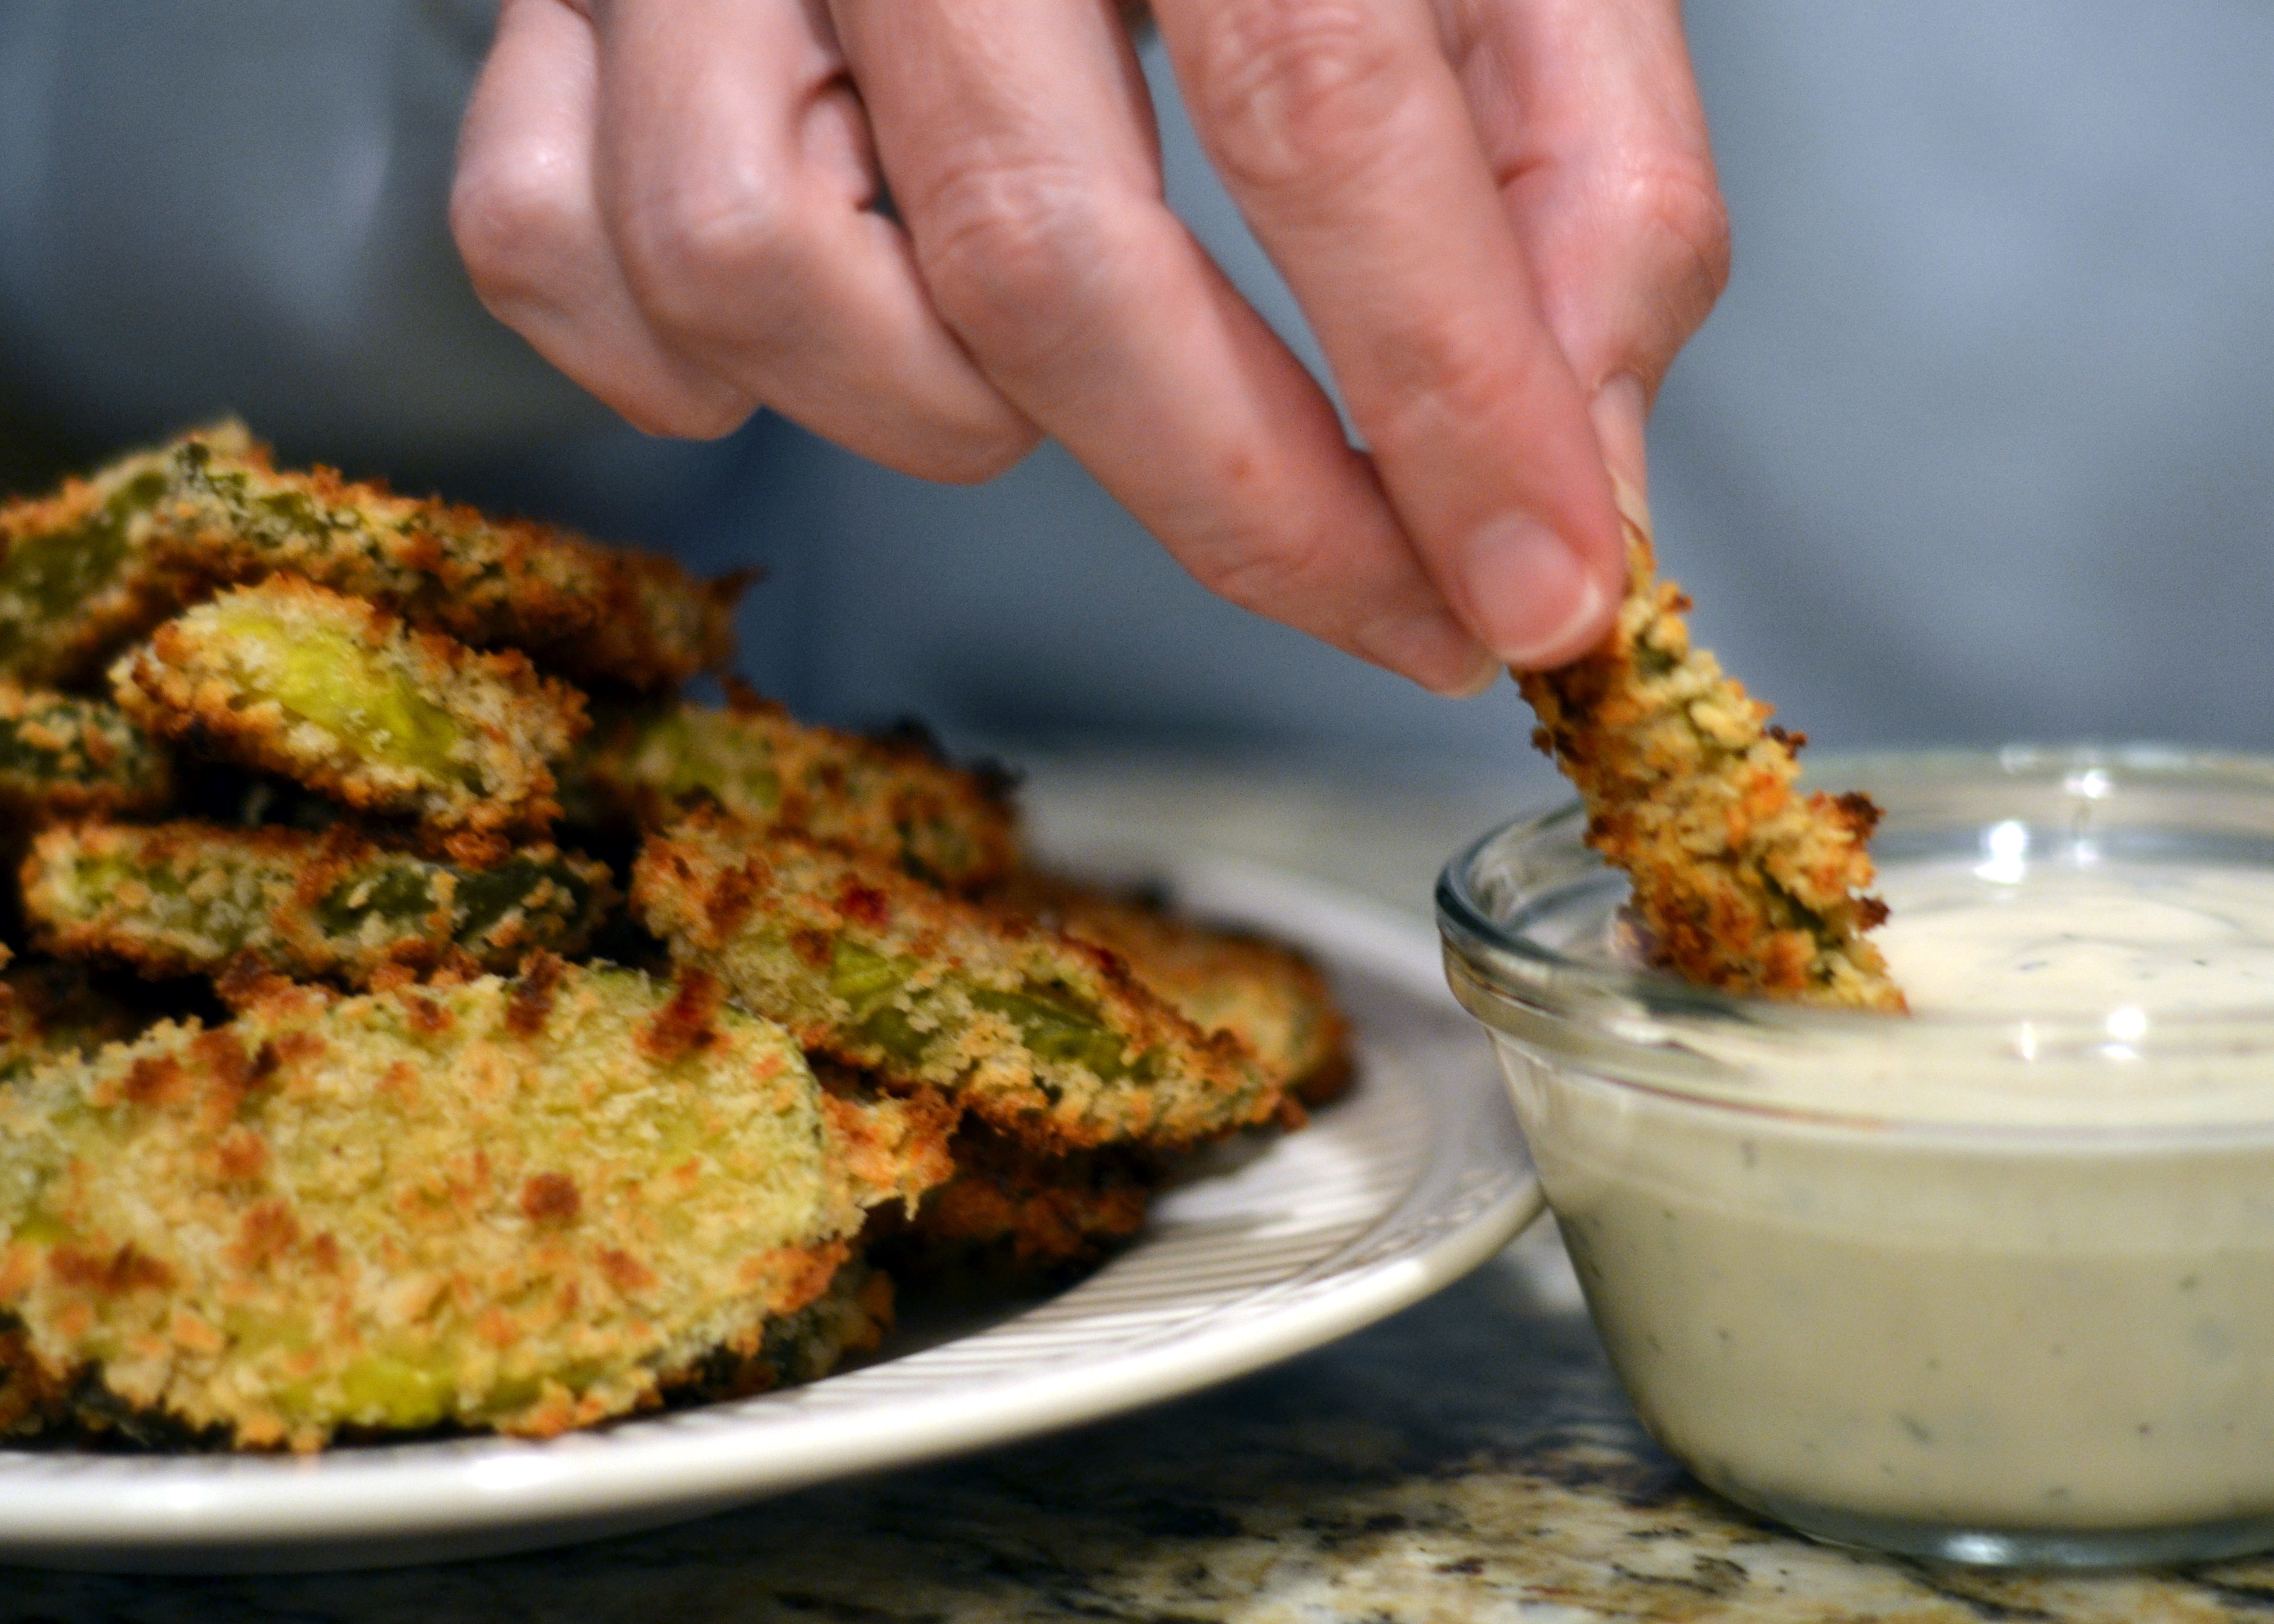
The Panko crumbs toasted up really well, giving the pickles that signature fried crunch without the messy (and not-so-good-for-you) oil. The batter added some wonderful, savory flavor to the pickles. They were a huge hit! I served the pickles with some homemade ranch dressing (Saving calories with the pickles made me feel less guilty about the dip!) and within just a couple of minutes, I had an empty plate on my hands. Next time, I’ll have to double the recipe!
NOT FRIED PICKLES
Adapted from The Vanilla Tulip
| Not Fried Pickles |
- 1 jar dill pickle slices (the thicker and crunchier, the better)
- 2 eggs
- 1/3 cup flour
- 1 Tbsp. Worcestershire sauce
- 1 tsp. Tabasco sauce
- 1 tsp. garlic powder
- 1 tsp. Cajun seasoning (I use Tony Chachere’s)
- 1 tsp. pepper
- 1 1/2 cups Panko bread crumbs
- Preheat broiler to high and move oven rack to the level one down from the top.
- Line a baking sheet with foil and place a baking rack on top of the sheet. Spray with nonstick spray.
- Remove the pickles from their liquid and lay them out on a couple of sheets of paper towels to drain for just a minute.
- In a medium bowl, whisk together the eggs and the flour until smooth. Stir in the Worcestershire sauce, Tabasco, garlic powder, Cajun seasoning and pepper.
- Place the Panko breadcrumbs in a shallow dish.
- Carefully dip each pickle slice in the egg mixture, letting the excess drip off. Dredge the pickle slices in the breadcrumbs, pressing to adhere.
- Lay the pickles out on the prepared rack.
- Broil for 2-3 minutes (watch them carefully!). Turn the pickles over and broil for another 2-3 minutes. Serve with ranch dressing.
- ENJOY!


