

Directions
Well, March certainly has roared in like a lion this year. Blizzards, thunderstorms, tornadoes….ugh. I’m so ready to put wintery food behind me for the year, but when it continues to be wet and blustery, I just want warm and cozy at dinner.
Dinners don’t get much cozier than this. Tender pork tenderloin, browned with juicy, sweet pears and then finished off in a vanilla cider cream sauce? Yes, please.
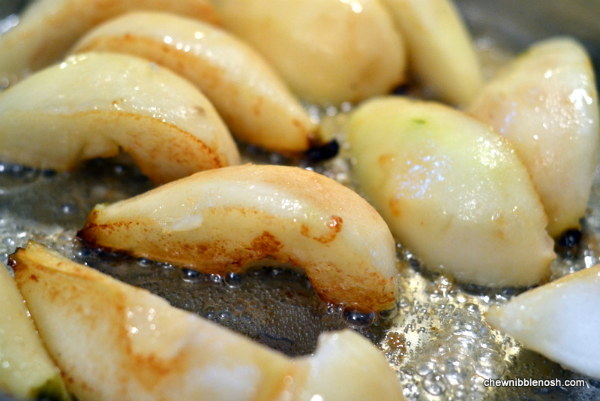
I started by peeling and quartering three firm pears. The recipe called for Bosc pears, but my grocery store was out of them. I went with Anjou, and they worked really well. Once the pears were prepped, I browned them in bit of butter on the stove top, just until they started to caramelize a bit.
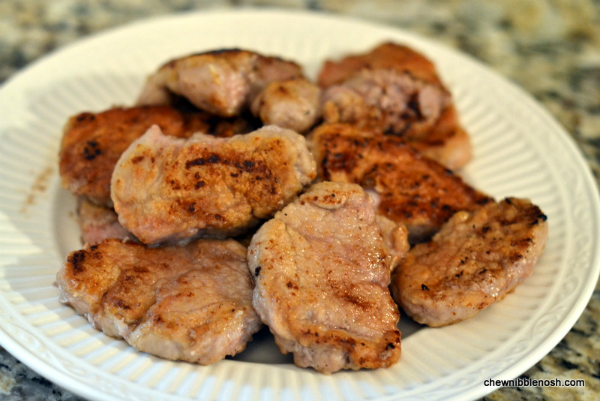
 As the pears were browning, I sliced a one-pound pork tenderloin into one-inch slices, and dredged them in some seasoned flour. I removed the pears from the pan, and set them aside. Then, the pork went into the same pan and I browned the pieces on each side, and removed them from the pan as well.
Next, comes the magic.
As the pork was browning, I got my sauce ingredients together. I combined some chicken broth, a bit of heavy cream, and some hard pear cider in a large measuring cup. I happened to have pear cider on hand, so I used it, but you could substitute hard apple cider or even regular apple cider. Whatever floats your saucy boat.
I deglazed the pan with the liquid ingredients and brought it to a boil. Then, I added the seeds from one vanilla bean. (If you have vanilla bean paste, you could use this as well. I ran out, so I had to go for the bean.)
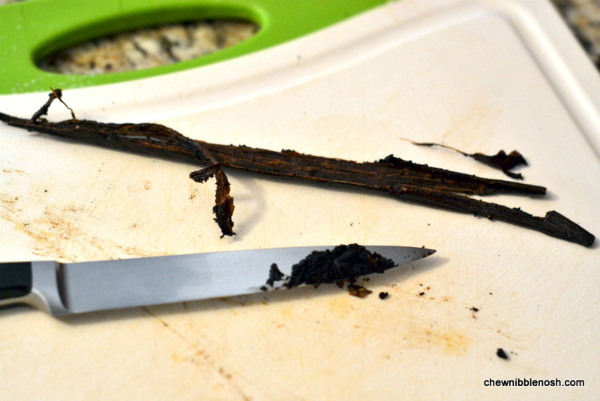
To get the seeds from the bean, I slice the bean in half, lengthwise, and then scrape my knife all the way down it.
Once the vanilla was added to the sauce, I reduced the speckled sauce down by half, before adding my pears and pork back into the mix.
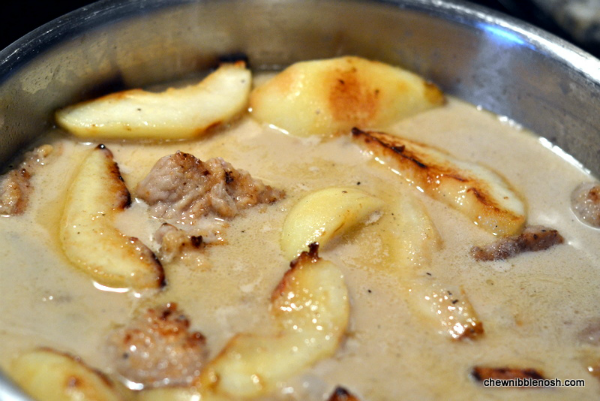
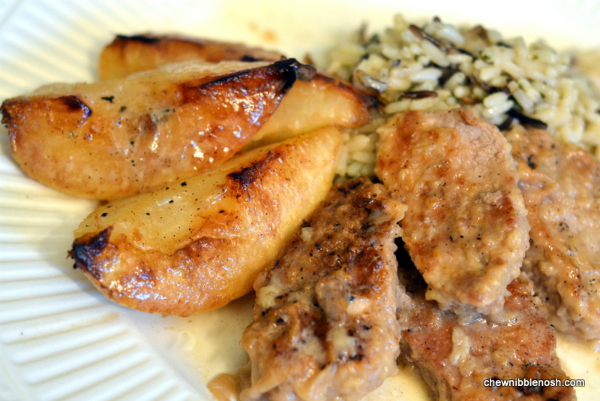
I let the sauce simmer for about four minutes more, until it had thickened up just a bit and the pork was cooked through, and then we were ready to eat.
I served this alongside some wild rice, to help sop up that amazing vanilla-cider sauce. The finished meal was sweet, but savory, cozy, and warm. It was the perfect remedy for a blustery March night.
VANILLA CIDER PORK WITH PEARS
Adapted from Cuisine: One Dish Dinners
- 3 Tbsp. unsalted butter
- 3 Bosc or Anjou (firm) pears, peeled, seeded and quartered
- 1 lb. pork tenderloin, trimmed and sliced into twelve 1-inch thick pieces
- 1/2 cup all-purpose flour
- salt and pepper
- 1 cup low-sodium chicken broth
- 1 cup hard pear or apple cider, or regular apple cider
- 1/3 cup heavy cream
- 1 Tbsp. vanilla bean paste or the seeds from one vanilla bean
- Melt the butter in a large saute pan over medium heat. Add the pears and saute until they are lightly browned, and just start to caramelize, about 5 minutes. Remove the pears from the pan.
- Dredge the pork medallions in the flour and season with salt and pepper. Saute the pork in the same pan until browned on both sides, about 2 minutes per side. Transfer the pork to a plate and set aside.
- Combine the broth, cider, and heavy cream. Add the mixture to the pan. Bring the sauce to a boil, add the vanilla, and reduce the sauce by half, about 4 minutes.
- Return the pears and the pork to the pan with the sauce. Boil the sauce until it’s thickened just a bit, about 4 minutes. Season with salt and pepper and serve.
- ENJOY!