

Directions
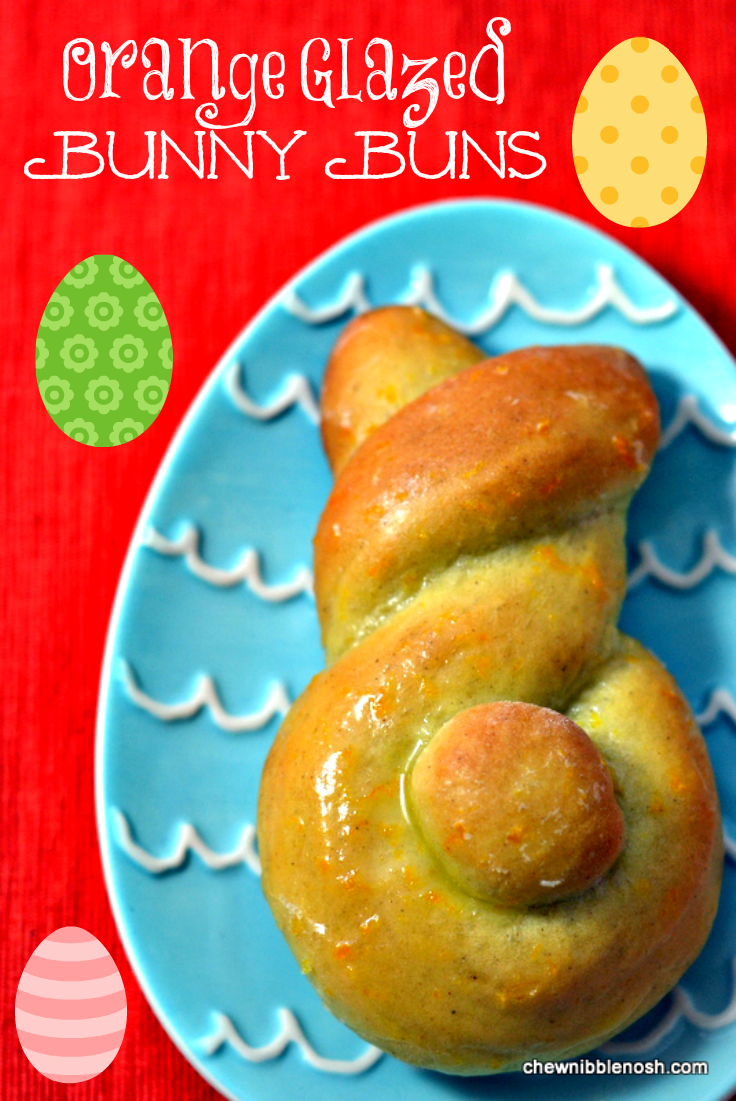
Seriously, aren’t these little guys just too cute?
They are the perfect addition to your Easter table, be it brunch or dinner. They are deliciously tender, and flavored with just a hint of warm spices and orange zest, and then glazed with a simple, sweet orange glaze to finish them off.
And…they are super cute.
They really aren’t difficult to put together, but as with any yeast bread, they do take a little bit of time.
I started by mixing together some flour, yeast, and allspice in my mixing bowl.
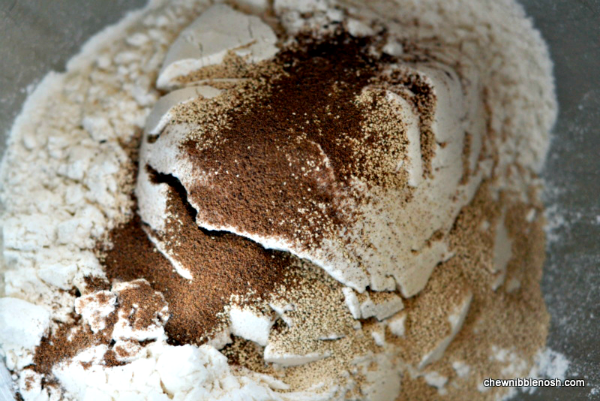
You could substitute out cinnamon for the allspice if you’d like. I used allspice because I love that cozy orange-spice combo.
In order to get the yeast blooming, I needed to warm up some milk, butter, sugar and salt on the stove top.

I heated the mixture just until it was warm and the butter was melted, over low heat, and then poured the mixture into my bowl with the dry ingredients and two eggs. I beat the mixture for three minutes, until it came together and was smooth and creamy.
Then, it was time to stir in more flour, some orange juice, and a big dollop of orange zest.
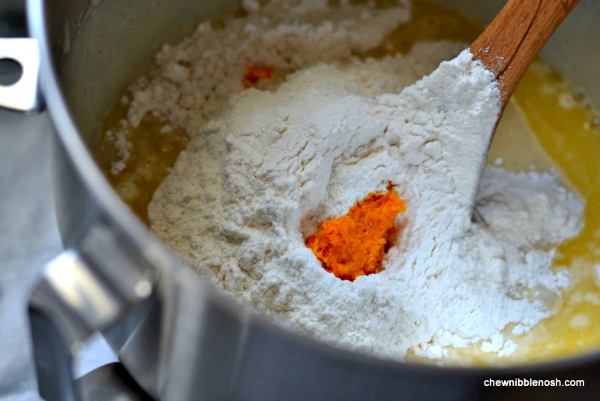
I mixed that together gently with a wooden spoon until it was smooth, but sticky. At that point, I poured out the dough onto a well floured cutting board, and kneaded the dough, adding sprinkles of flour as I worked, until the dough came together in a nice, soft ball.
I had a large mixing bowl set aside that I’d sprayed with nonstick spray. The dough ball went into the bowl, was covered with a towel, and at that point I walked away for an hour and let the dough rise.
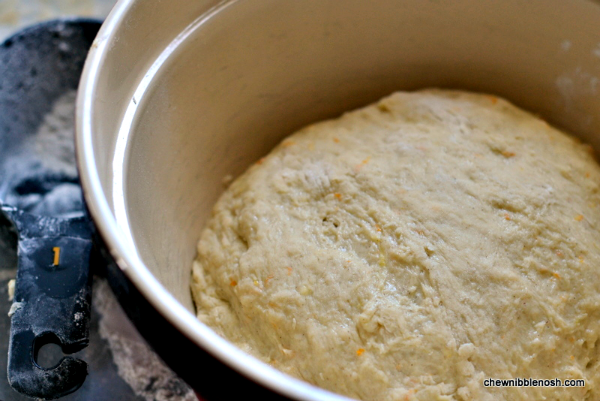
The dough doubled in size during that time, so I punched down the dough (this resituates the gluten and air pockets in the dough), poured it out onto my floured cutting board again, and divided it in half.
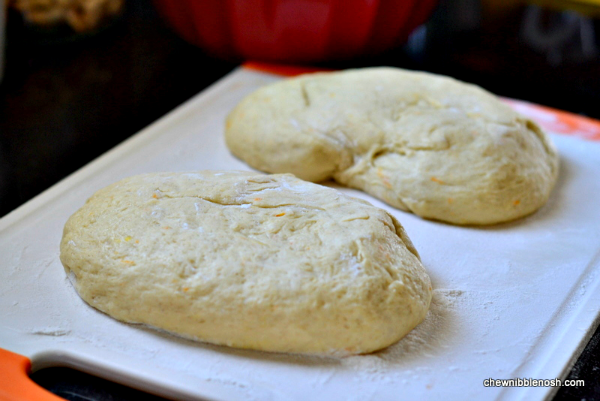
Then, you guessed it, another rest.
I covered it with a tea towel and let the dough rest for just ten minutes.
Then, it was time to build some bunnies!
I cut each dough half into six equal rows. To make the bunnies, I rolled five rows of each half into approximately 10-inch strips. I formed a loop by looping the strip in half. Then, I brought the end that was underneath back around, letting the ends hang out a bit to form the ears. I pinched the ends of the ears into a point. With that sixth row of dough, I rolled bits of it into fluffy tails, and set them right in the middle of the first loop.

Once I’d built my bunnies, I placed them on two greased cookie sheets and covered them again with a tea towel. Then, they needed to rise for another 30 minutes, until they were almost doubled in size again.
Then, it was finally time to bake them up!
They baked at 375* for about 12 minutes, until they were toasty brown and perfectly puffed. And the kitchen had that wonderful fresh-baked bread smell, with just a hint of the orange and spice. Mmmmmm…
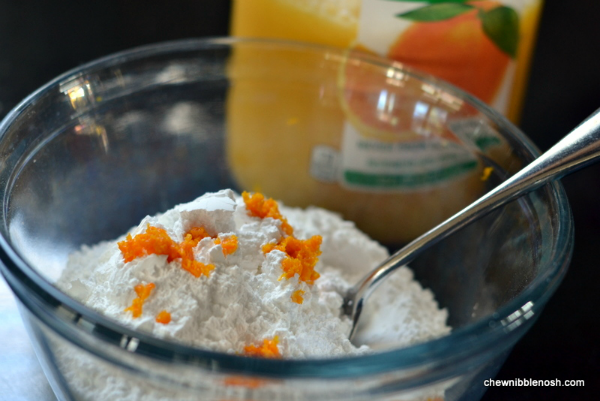
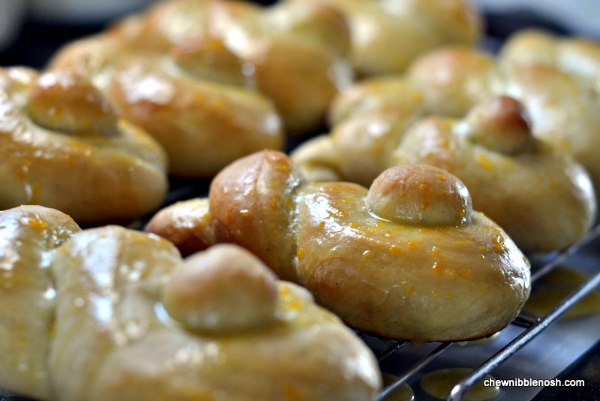
To finish them off, I stirred together a quick glaze of some powdered sugar, orange zest, and orange juice.
Once the mixture was smooth, I drizzled and spread it over my warmed bunnies, letting it run down the sides to coat the bunnies all over. I let the bunnies cool completely on the rack, and that helped to set the glaze.
These little guys are delicious, and they were a huge hit with my family. The kids really got a kick out of them! I hope yours do too.
Happy Easter!
ORANGE GLAZED BUNNY BUNS
Adapted from BudgetGourmetMom.com
- For the Bread:
- 4 cups all-purpose flour, divided, plus a little extra for kneading
- 1 package active dry yeast
- 3/4 tsp ground allspice (cinnamon or cardamom could be substituted)
- 1 1/4 cups milk
- 1/2 cup butter
- 1/3 cup sugar
- 1/2 tsp salt
- 2 eggs
- 1 Tbsp. finely shredded orange peel
- 1/4 cup orange juice
- For the Glaze:
- 1 1/2 cups sifted powder sugar
- 1 tsp finely shredded orange peel
- 3 Tbsp. orange juice
- In a large mixing bowl, combine 2 cups of the flour, the yeast and the allspice. Set aside.
- In a medium sized saucepan, combine the butter, milk, sugar and salt. Heat over low heat, and stir until butter is melted and the mixture is warmed (120-130*F).
- Add the warmed milk mixture to the dry ingredients, along with the 2 eggs. Beat, on low, for 30 seconds to combine ingredients. Turn up the speed to high and beat for 3 minutes.
- Using a wooden spoon, stir in the remaining flour, the orange juice, and the 1 Tbsp. orange zest. (Dough will be sticky.)
- Turn the dough out onto a well floured surface. Knead the dough with enough extra flour until the dough comes together in a smooth, elastic ball (3-5 minutes). Place the dough in a greased mixing bowl. Turn over once. Cover, and let the dough rise in a warm place for 1 hour.
- Punch down the dough and turn it out onto a floured surface. Cut the dough ball in half. Cover and allow to rest for 10 minutes.
- Lightly grease two cookie sheets.
- Slice each half of the dough ball into 6 rows. To make the bunnies, roll 5 rows of each half of the dough into a 10-inch long strip. Overlap one end of strip over the other to form a loop; bring the end that’s underneath up over the top end, letting one end extend on each side to make ears. Pat tips of ears to shape in point.
- Take pieces of the remaining strips of dough and roll them into balls to use for the bunny tails. Place a ball of dough in the middle of each loop.
- Place the bunnies on the cookie sheets, leaving a few inches between each bunny.
- Cover and allow to rise in a warm place for 30-45 minutes, until nearly doubled in size.
- Preheat oven to 375*F.
- Bake the bunnies for 11-12 minutes, until golden and puffed.
- Remove from the pans to a cooling rack. Glaze the bunnies while they are warm, and allow to cool.
- Combine the powdered sugar, orange zest and orange juice in a small bowl until smooth. Spread the icing over the warm bunnies, letting the glaze drizzle down them, coating each bunny.
- Cool the bunnies on a wire rack and store in an airtight container.
- ENJOY!