Directions
I look at the calendar on my wall and I know that it’s April, but I’m having a really hard time believing that it’s already time for Easter. Wasn’t it just Christmas? I feel like I’ve been in some department store time warp and they’ve thrown the holiday at me way too early.
Despite my disbelief in the modern-day calendar,we all know that the Easter Bunny is coming to town pretty soon! When I was little, the Bunny always took really good care of me. On Easter morning, I’d find a basket filled to the brim with delicious chocolate bunnies, fruity jelly beans and filled eggs, popping open with goodies. My all time favorite Easter treats, though, always involved marshmallow. Shape some marshmallow like a bunny, cover it in chocolate and I’m a happy girl. Shape it like a duck, cover it in sugar, and I’ll take those too. I love marshmallow.
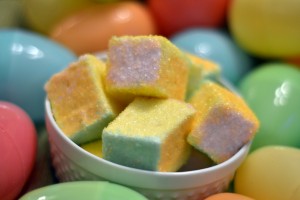
As I’ve grown up, my love of marshmallow hasn’t changed, but I’m admittedly a bit more snobby about it. Once I made up my own marshmallows at home, the store-bought stuff never tasted as good. Homemade marshmallows are fun to make, the kids love them, and they will knock your socks off. They are perfect little vanilla pillows that just melt in your mouth. I love making them for hot chocolate in the wintertime, but this time, I thought I’d make a homemade version of an Easter Peep (minus the cute little ducky shape).
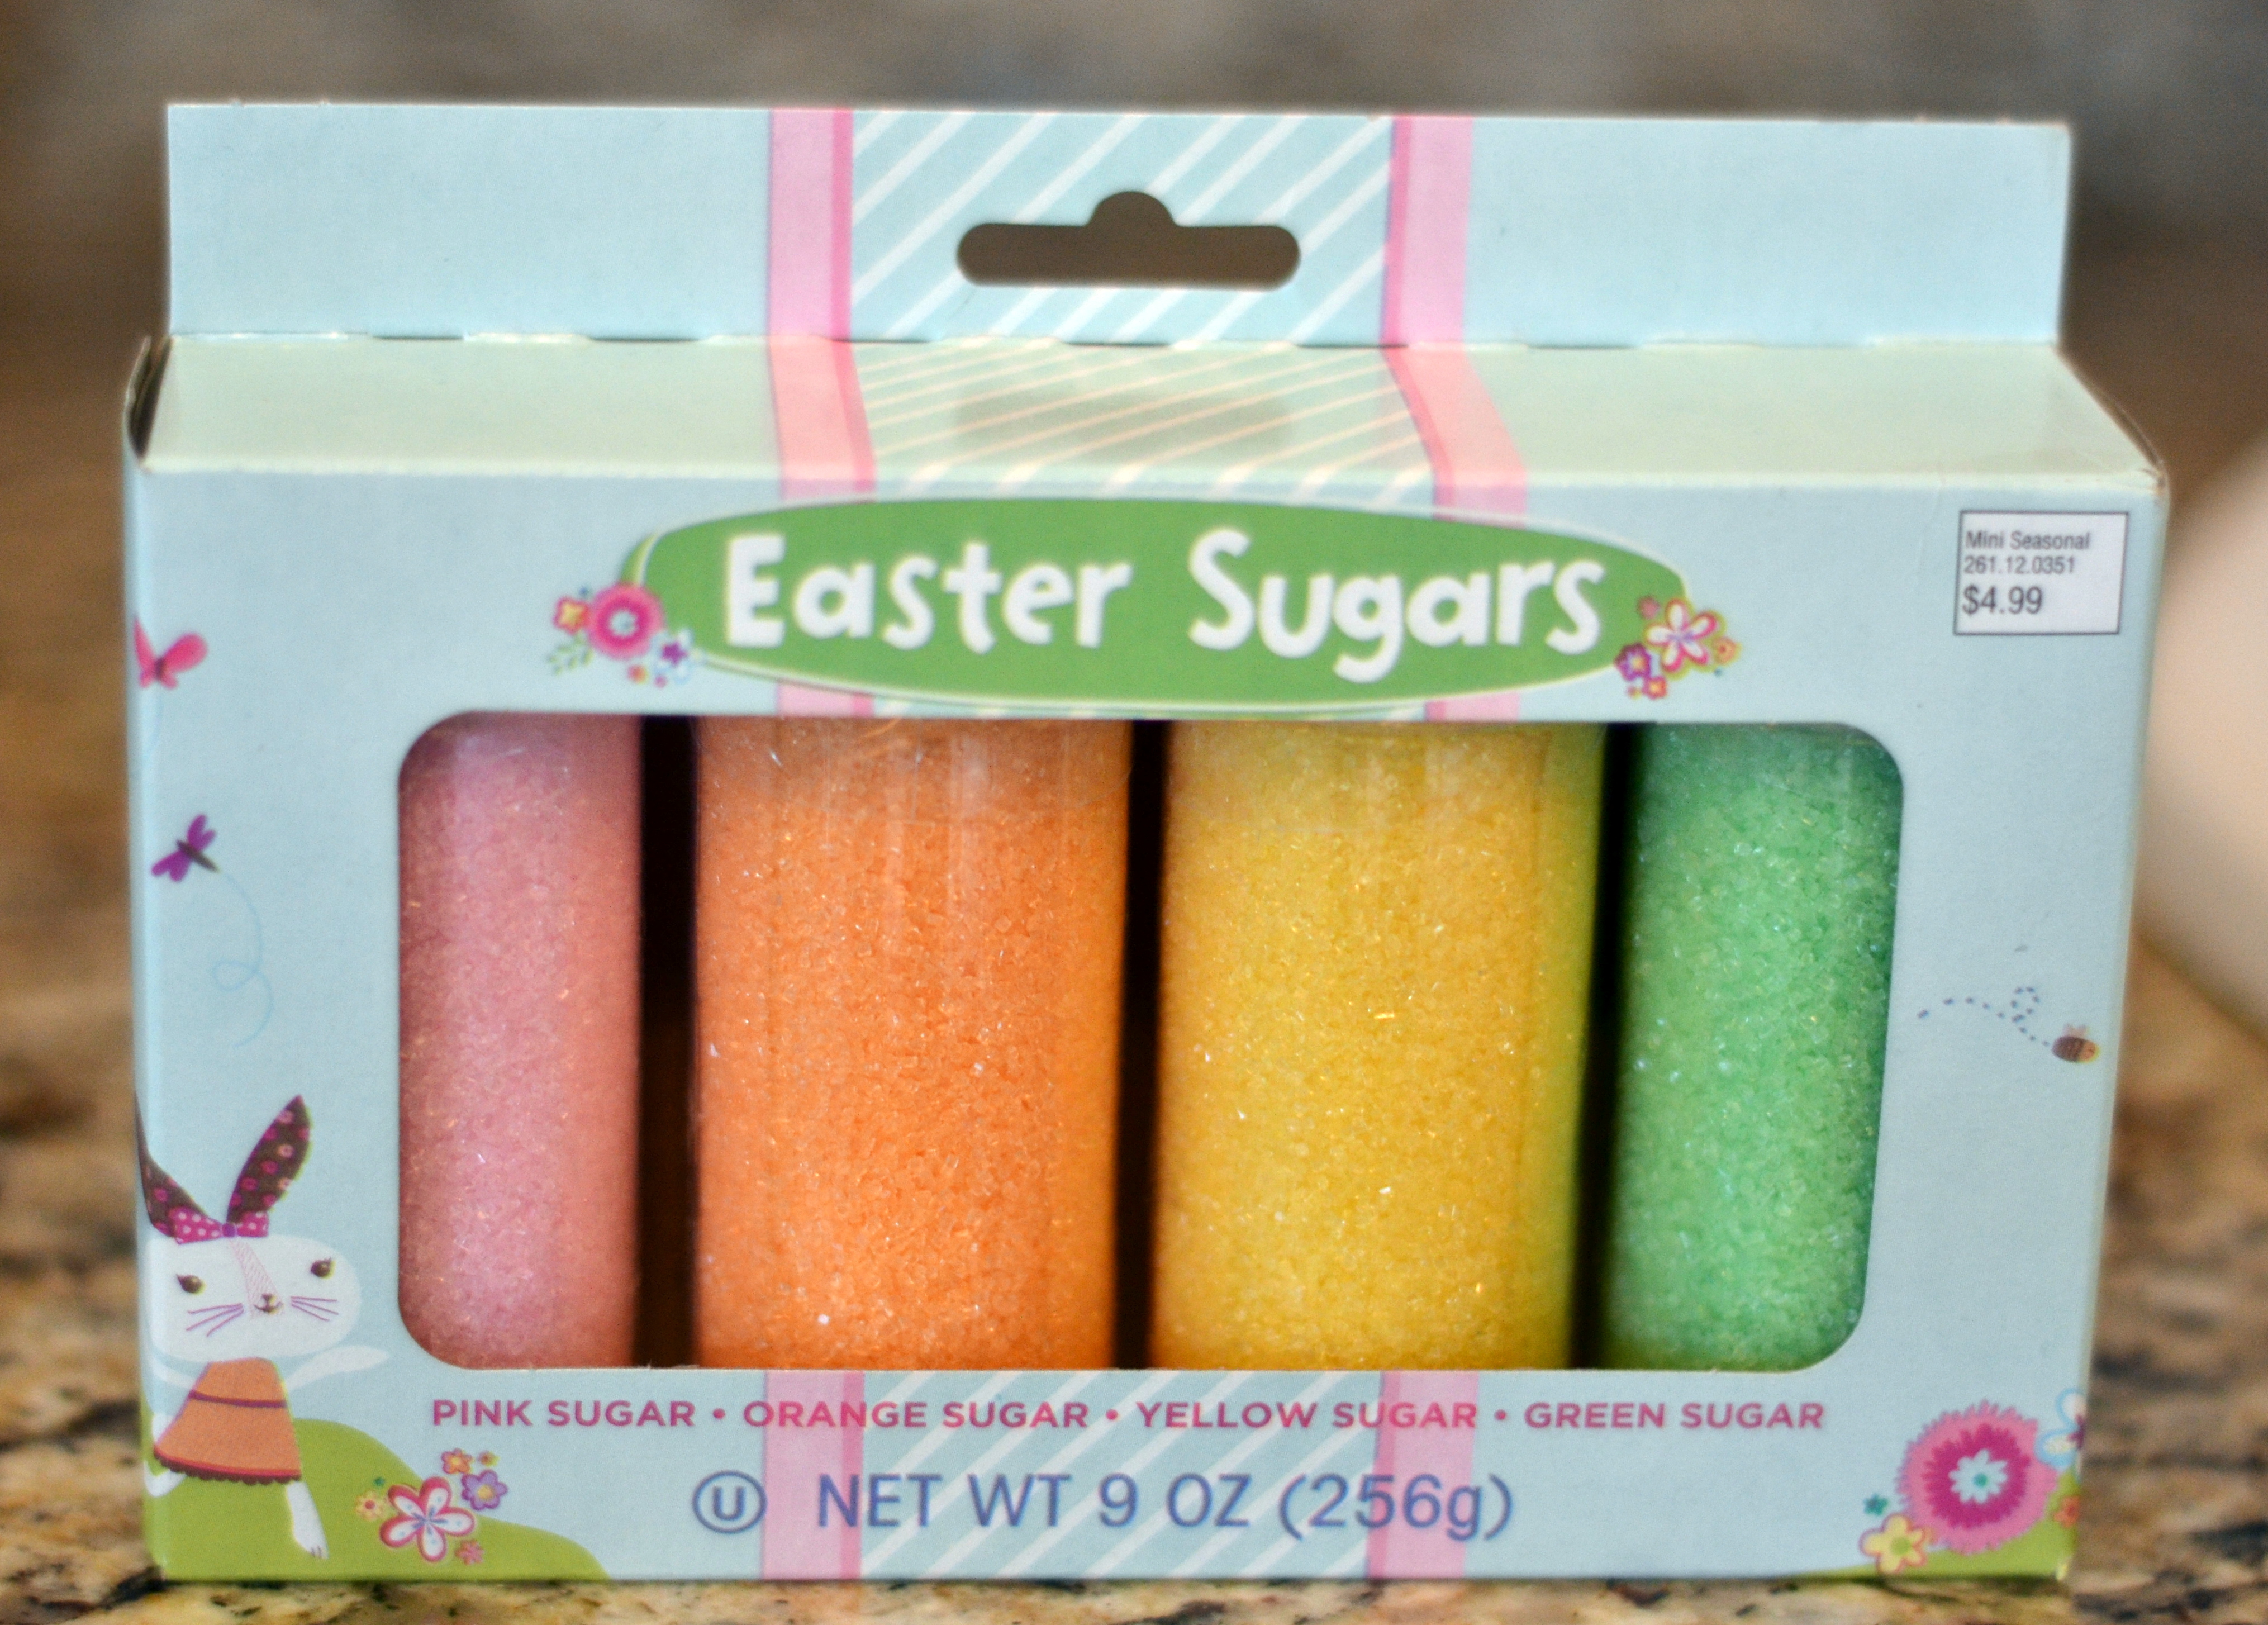
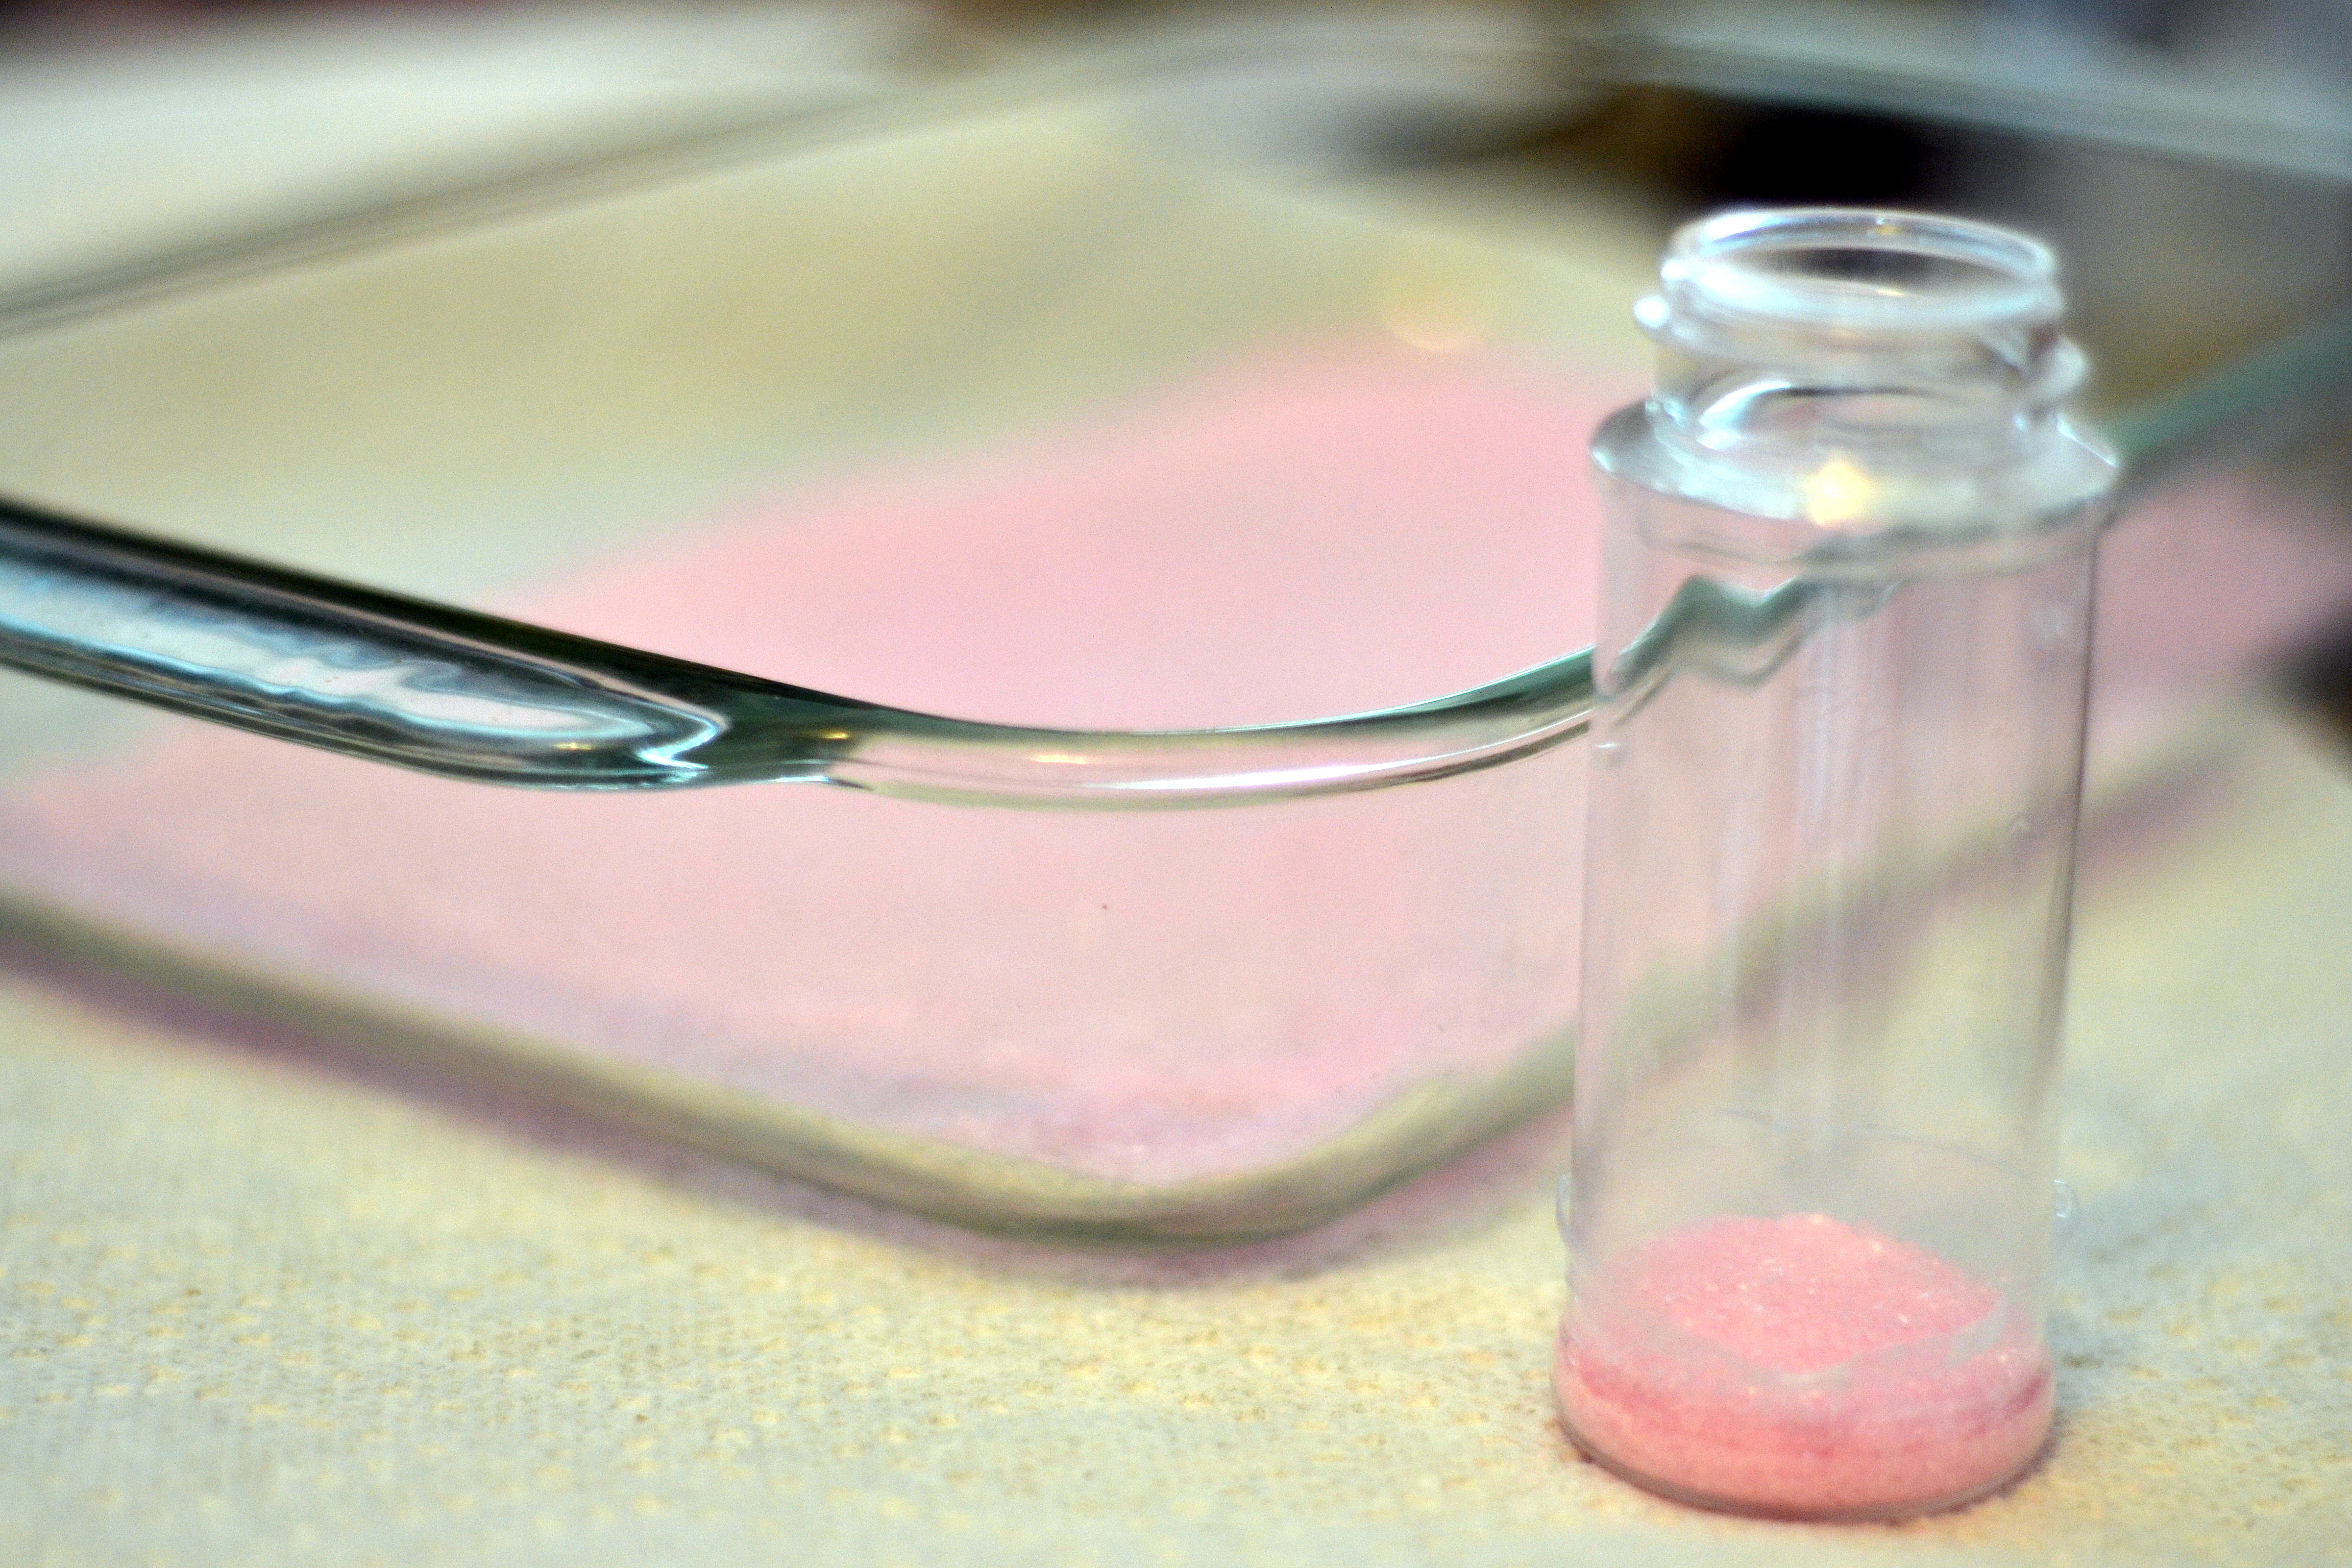
My determination to make spring marshmallows all started when I bumped into this pack of spring colored sugars at Target the other day.
I saw them, in all of their sweet, spring colored glory and knew they’d be the perfect addition to my favorite marshmallow recipe. I quickly bought them and headed home to start up the sticky.
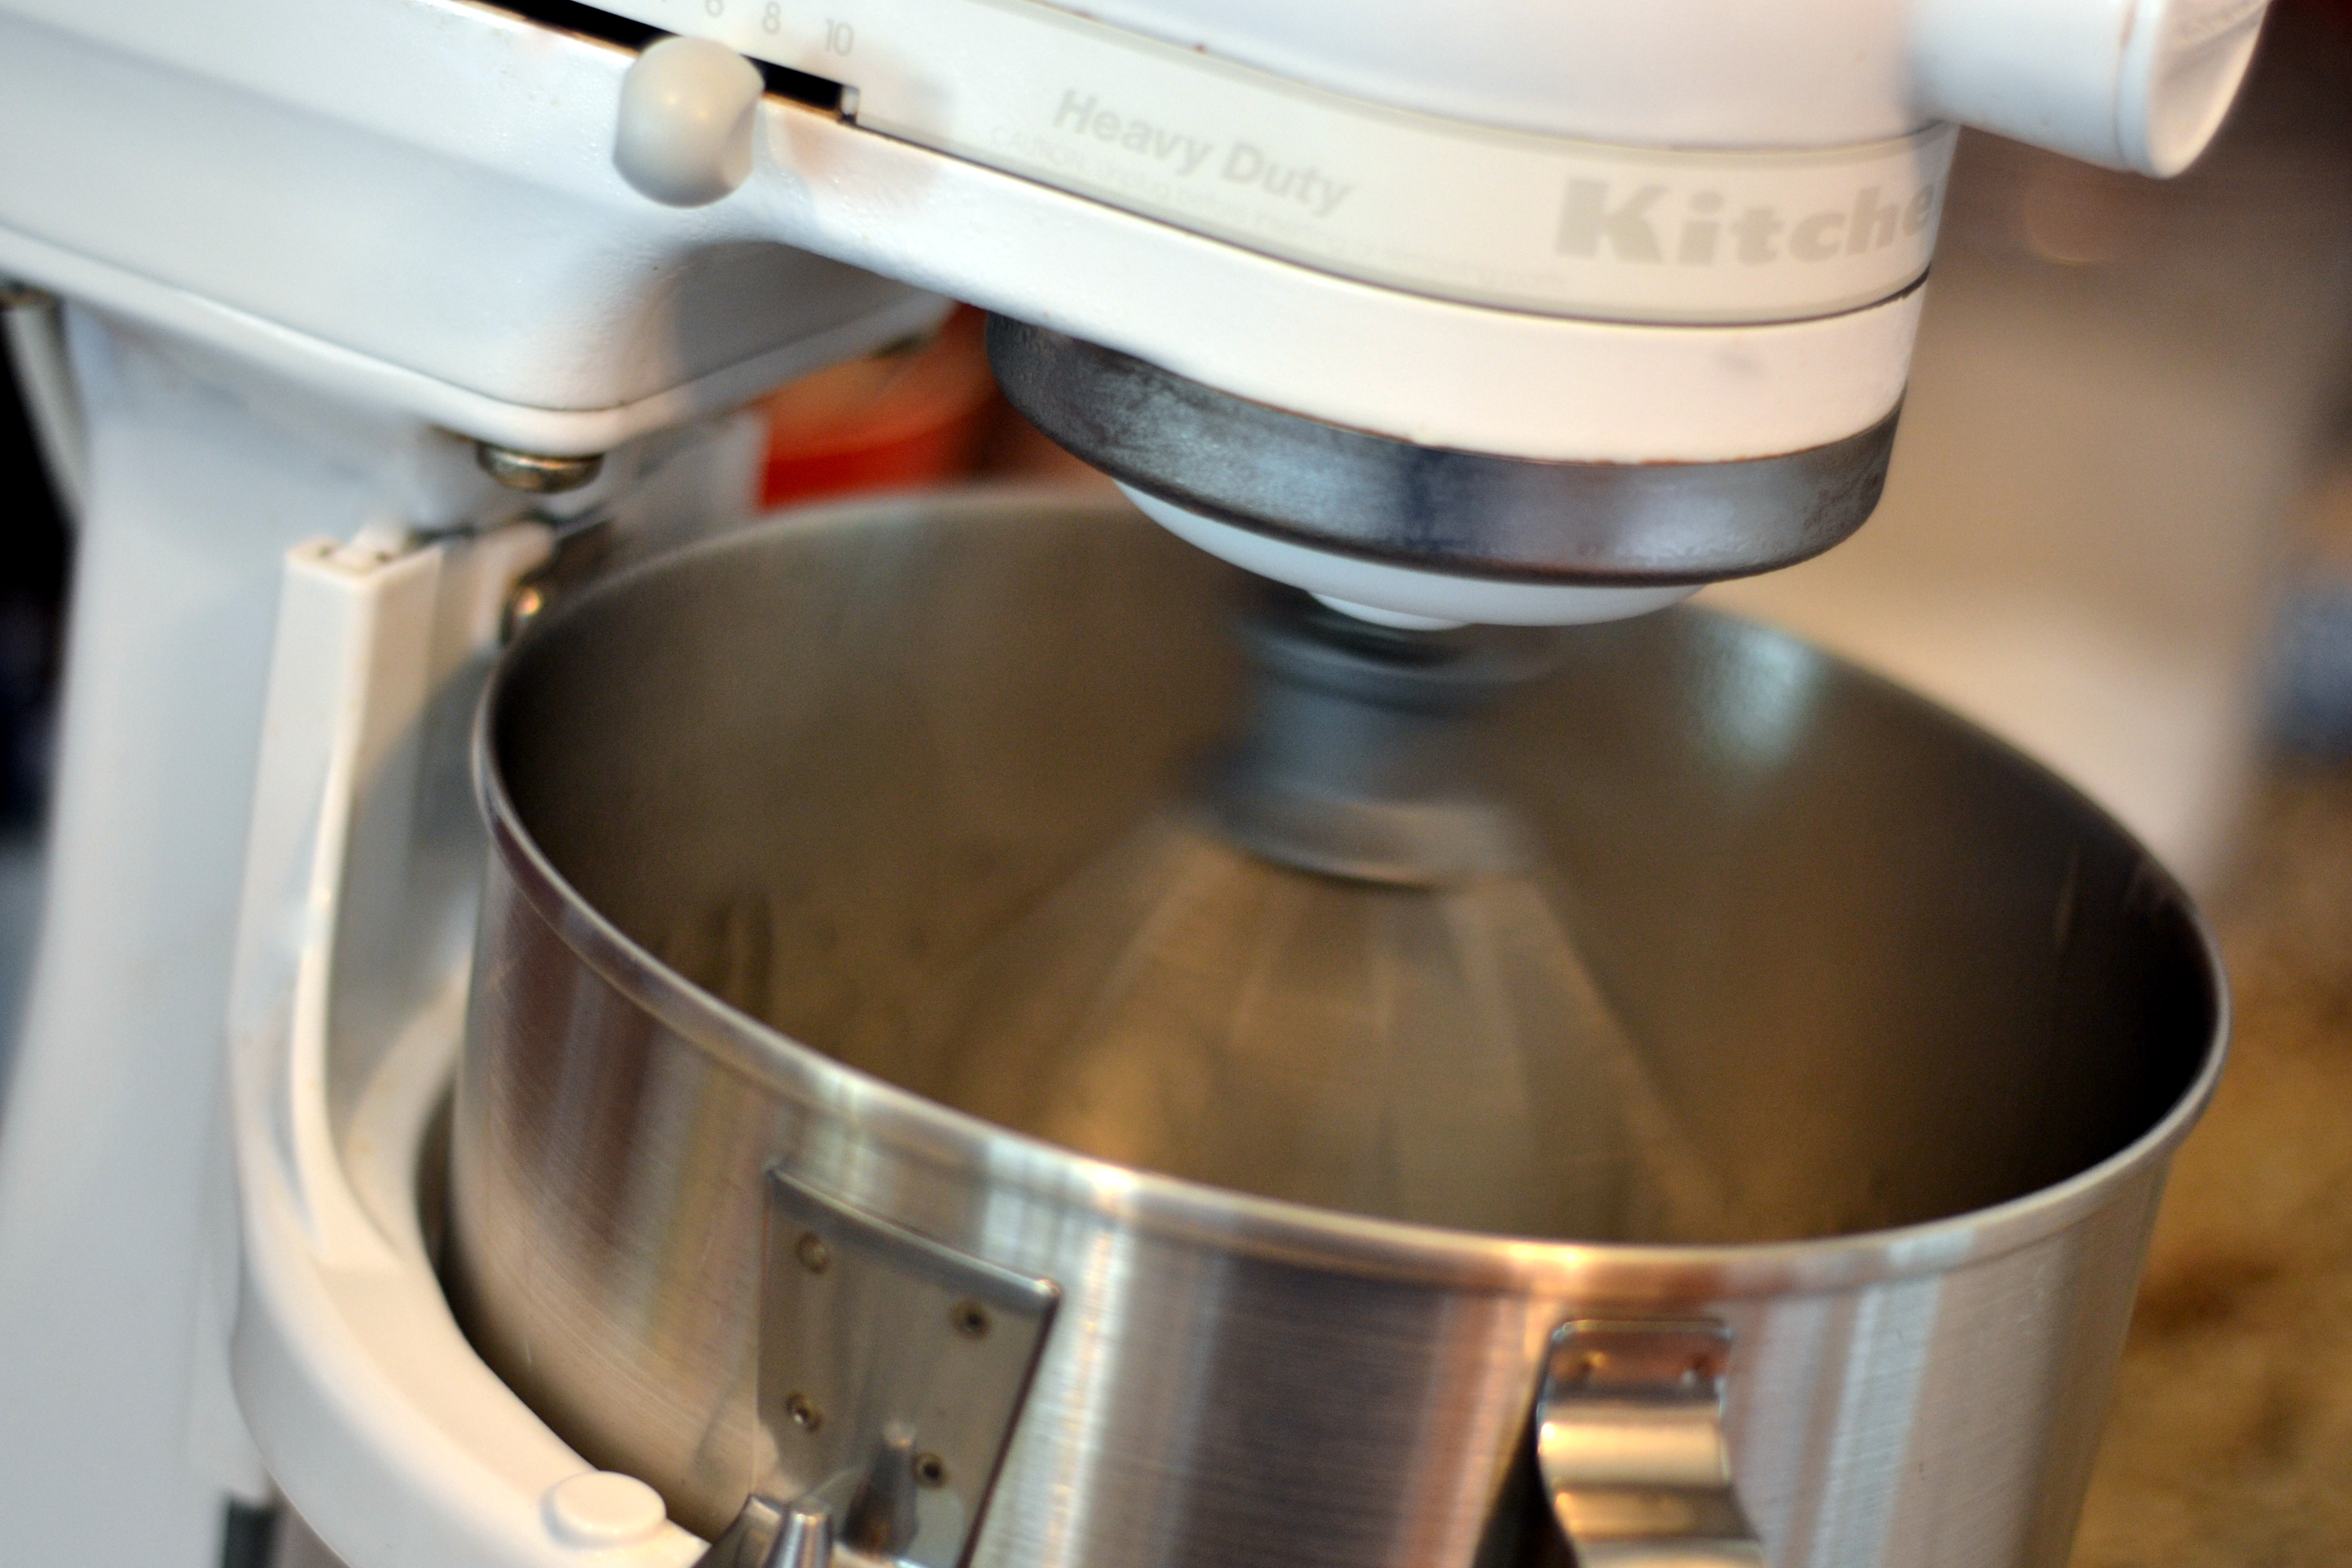
I use Ina Garten’s marshmallow recipe and swear by it. It’s simple, clean and de-licious. It’s a no-fail recipe, really…if you can follow directions. The only thing I would highly suggest using, besides a candy thermometer, is a heavy-duty stand mixer, like my KitchenAid. You could use a regular hand mixer, but it would become pretty tedious as the marshmallow, at one point in the recipe, needs to whip for about 15 minutes straight.
So, to begin, I opened three packets of unflavored gelatin and poured them into the bowl of my mixer. Then, I added some cold water and stirred it up. I put the bowl on my mixer and attached the whisk attachment to it. At that point, the gelatin and water needed some time to hang out together, so while they did, I mixed up my sugar mixture.
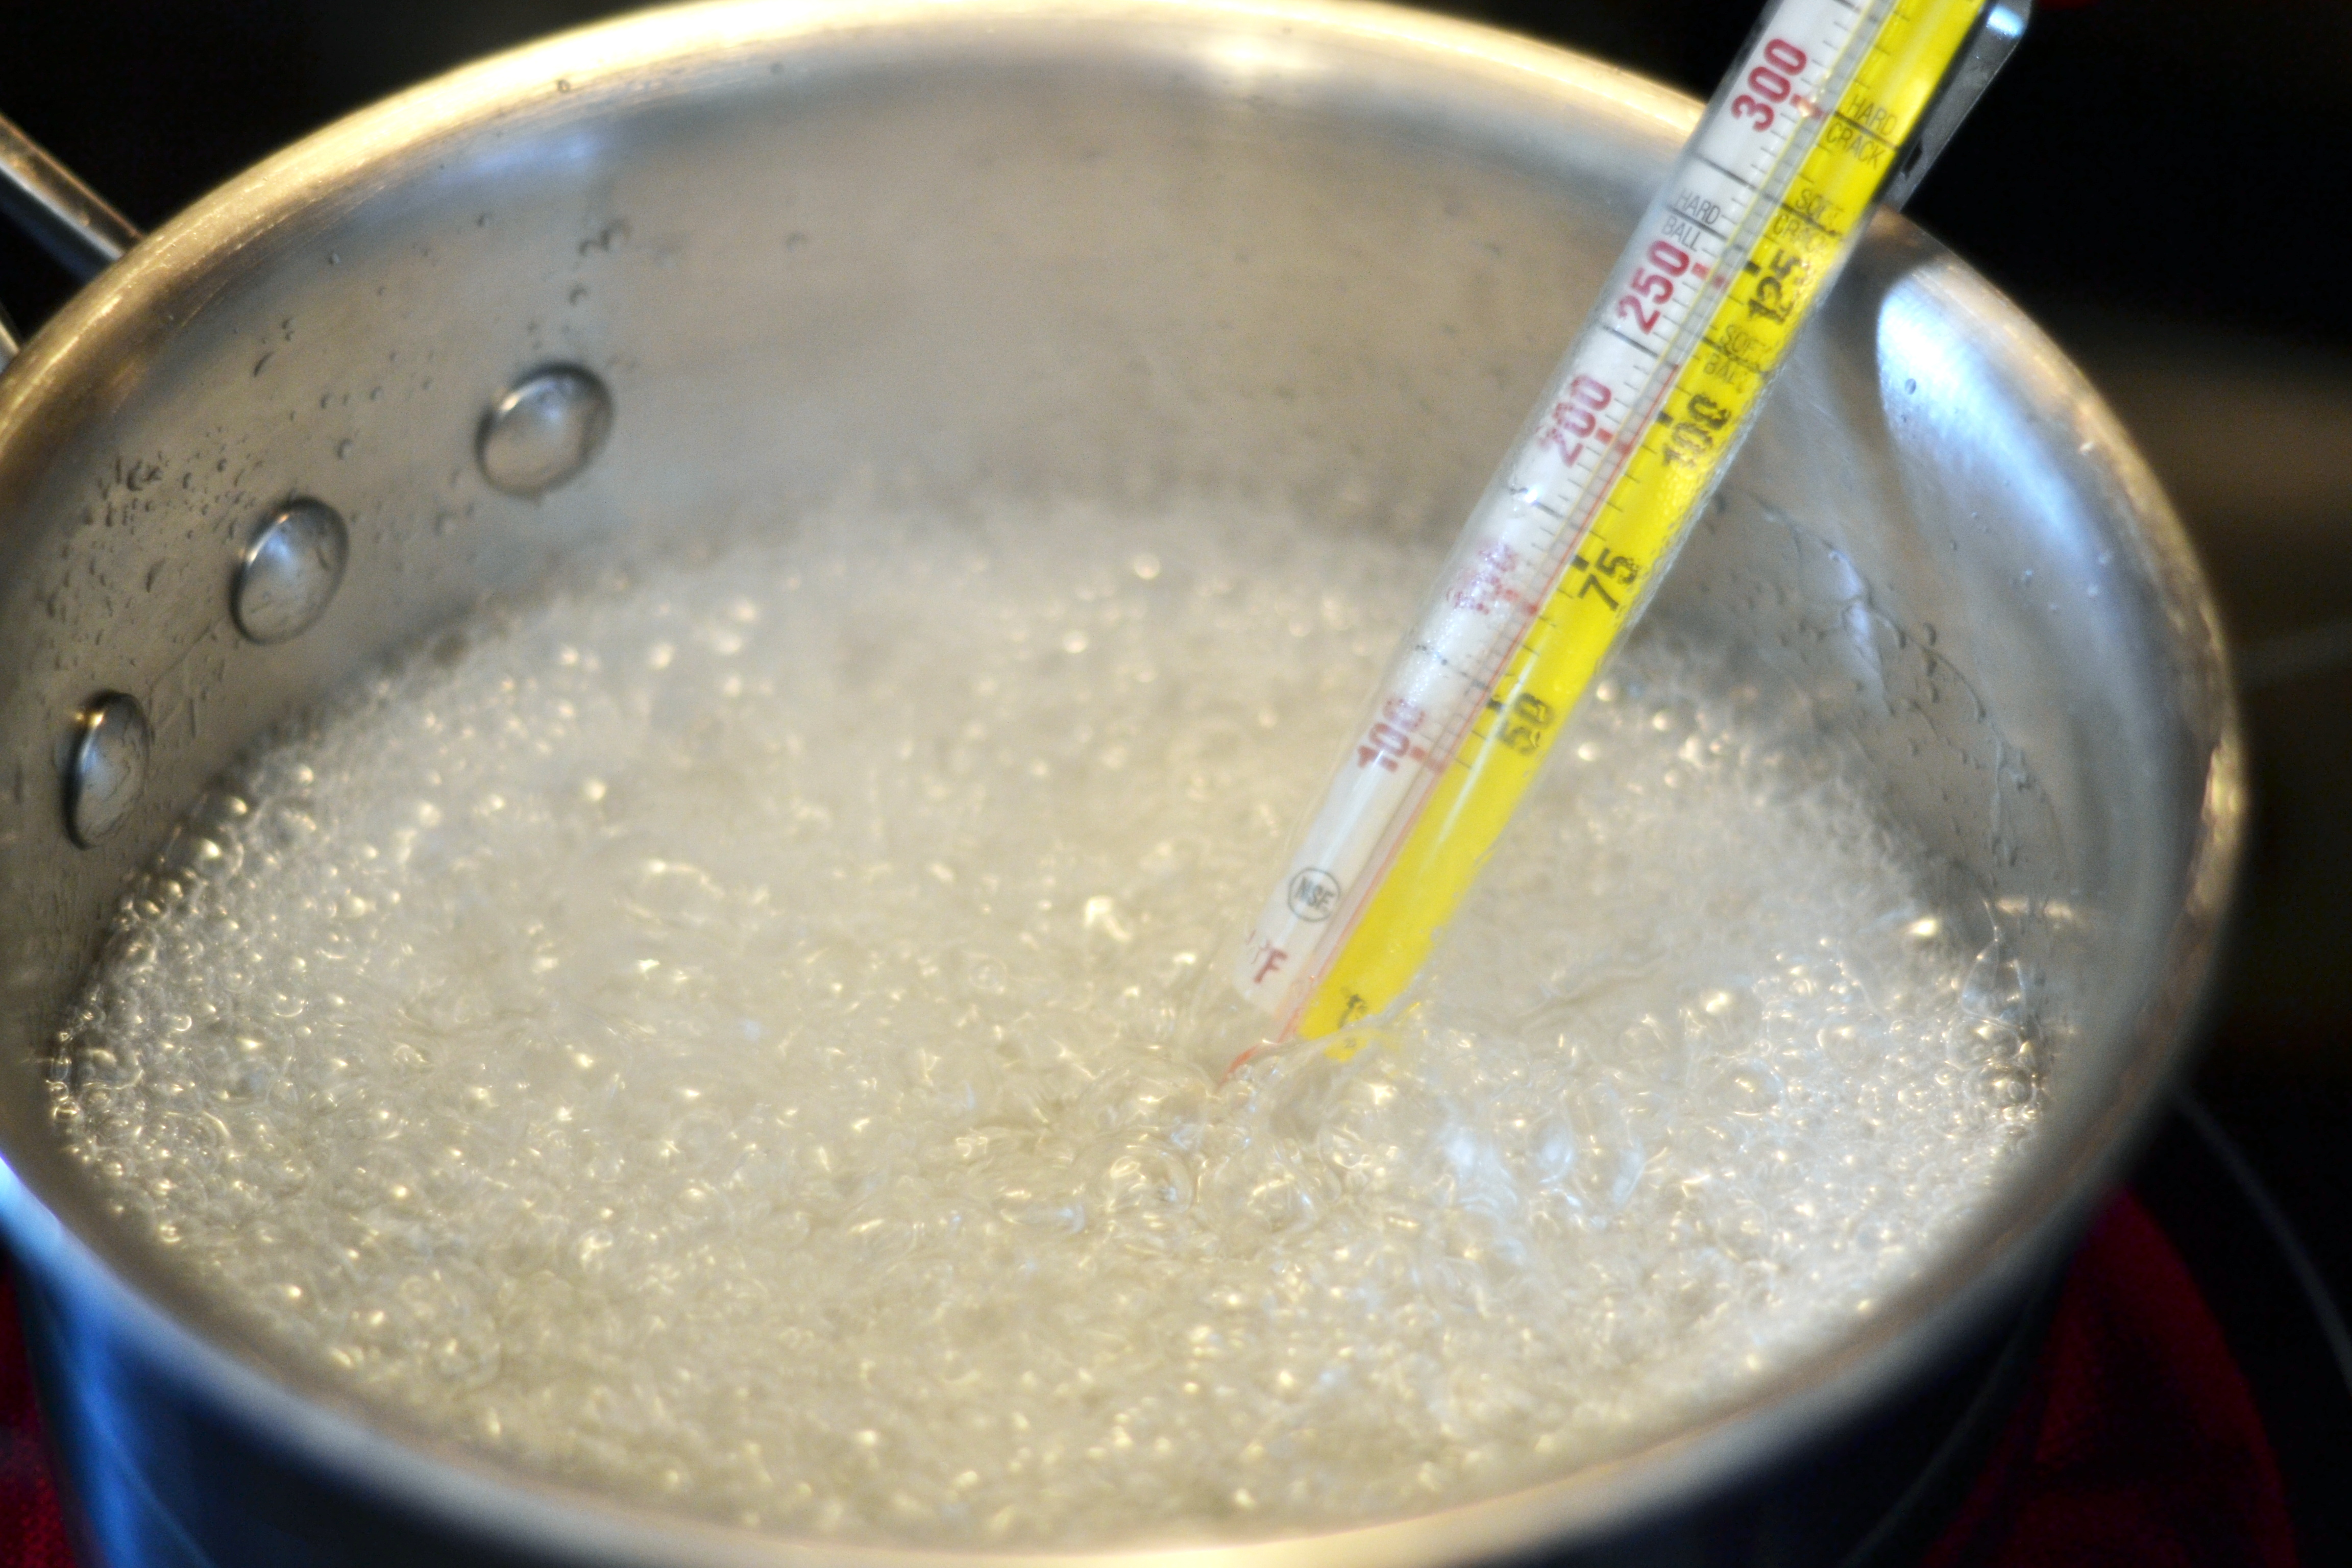
I poured some sugar, water, light corn syrup, and a dash of salt into a saucepan, gave it a stir and brought it to boil on the stove. I put my candy thermometer in there and let it bubble away to a perfect 240*.
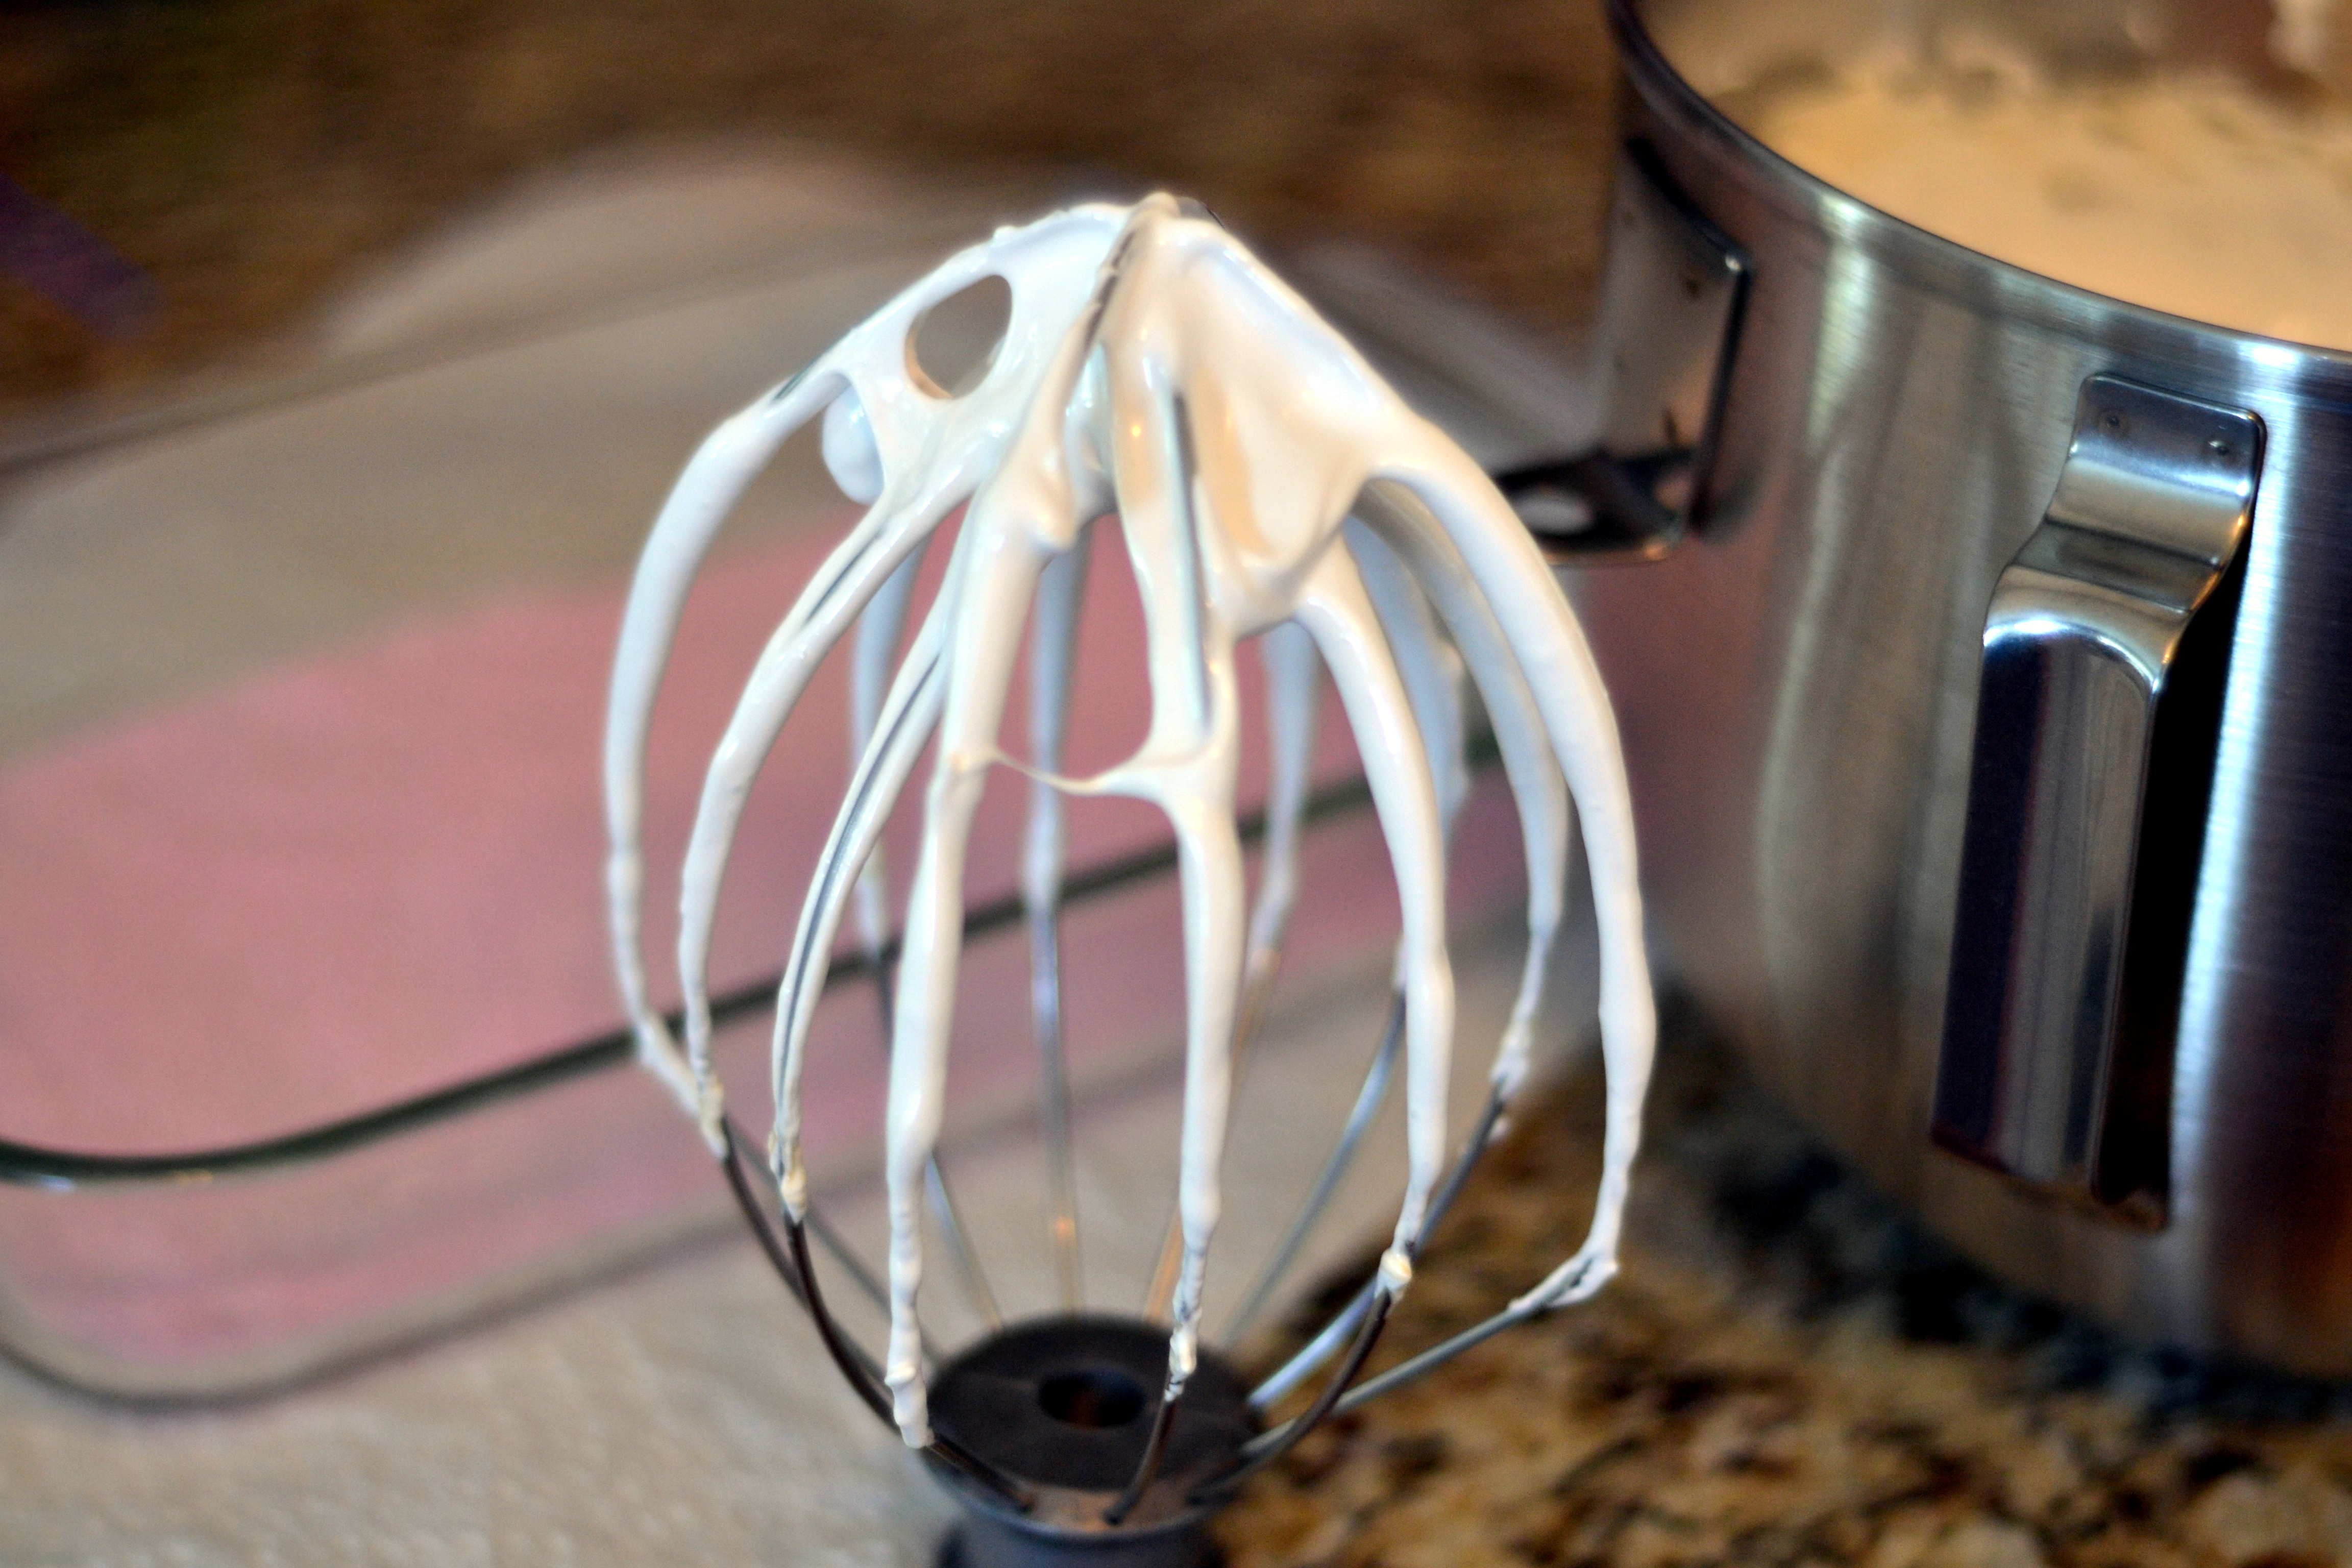
Once the sugar mixture came to temperature, I took it off the heat and went back to my mixer. I turned the mixer on and slowly poured the sugar mixture into the bowl with the gelatin. Once it was all in, I set my mixer on high and then I didn’t touch it again for 15 minutes.
While the marshmallow was whipping up, I prepped my dish. I wanted thick, fat marshmallows, so I used my 7×11 inch baking dish. You could easily use a 9×13 inch dish, but your marshmallows won’t be as thick. I poured almost the entire container of pink sugar in the bottom of the dish and made sure it was evenly distributed.
Once the marshmallow was beautifully thick, fluffy and smooth, I added some pure vanilla extract and whipped that in, too. Once it was combined, my marshmallow was ready to pour.
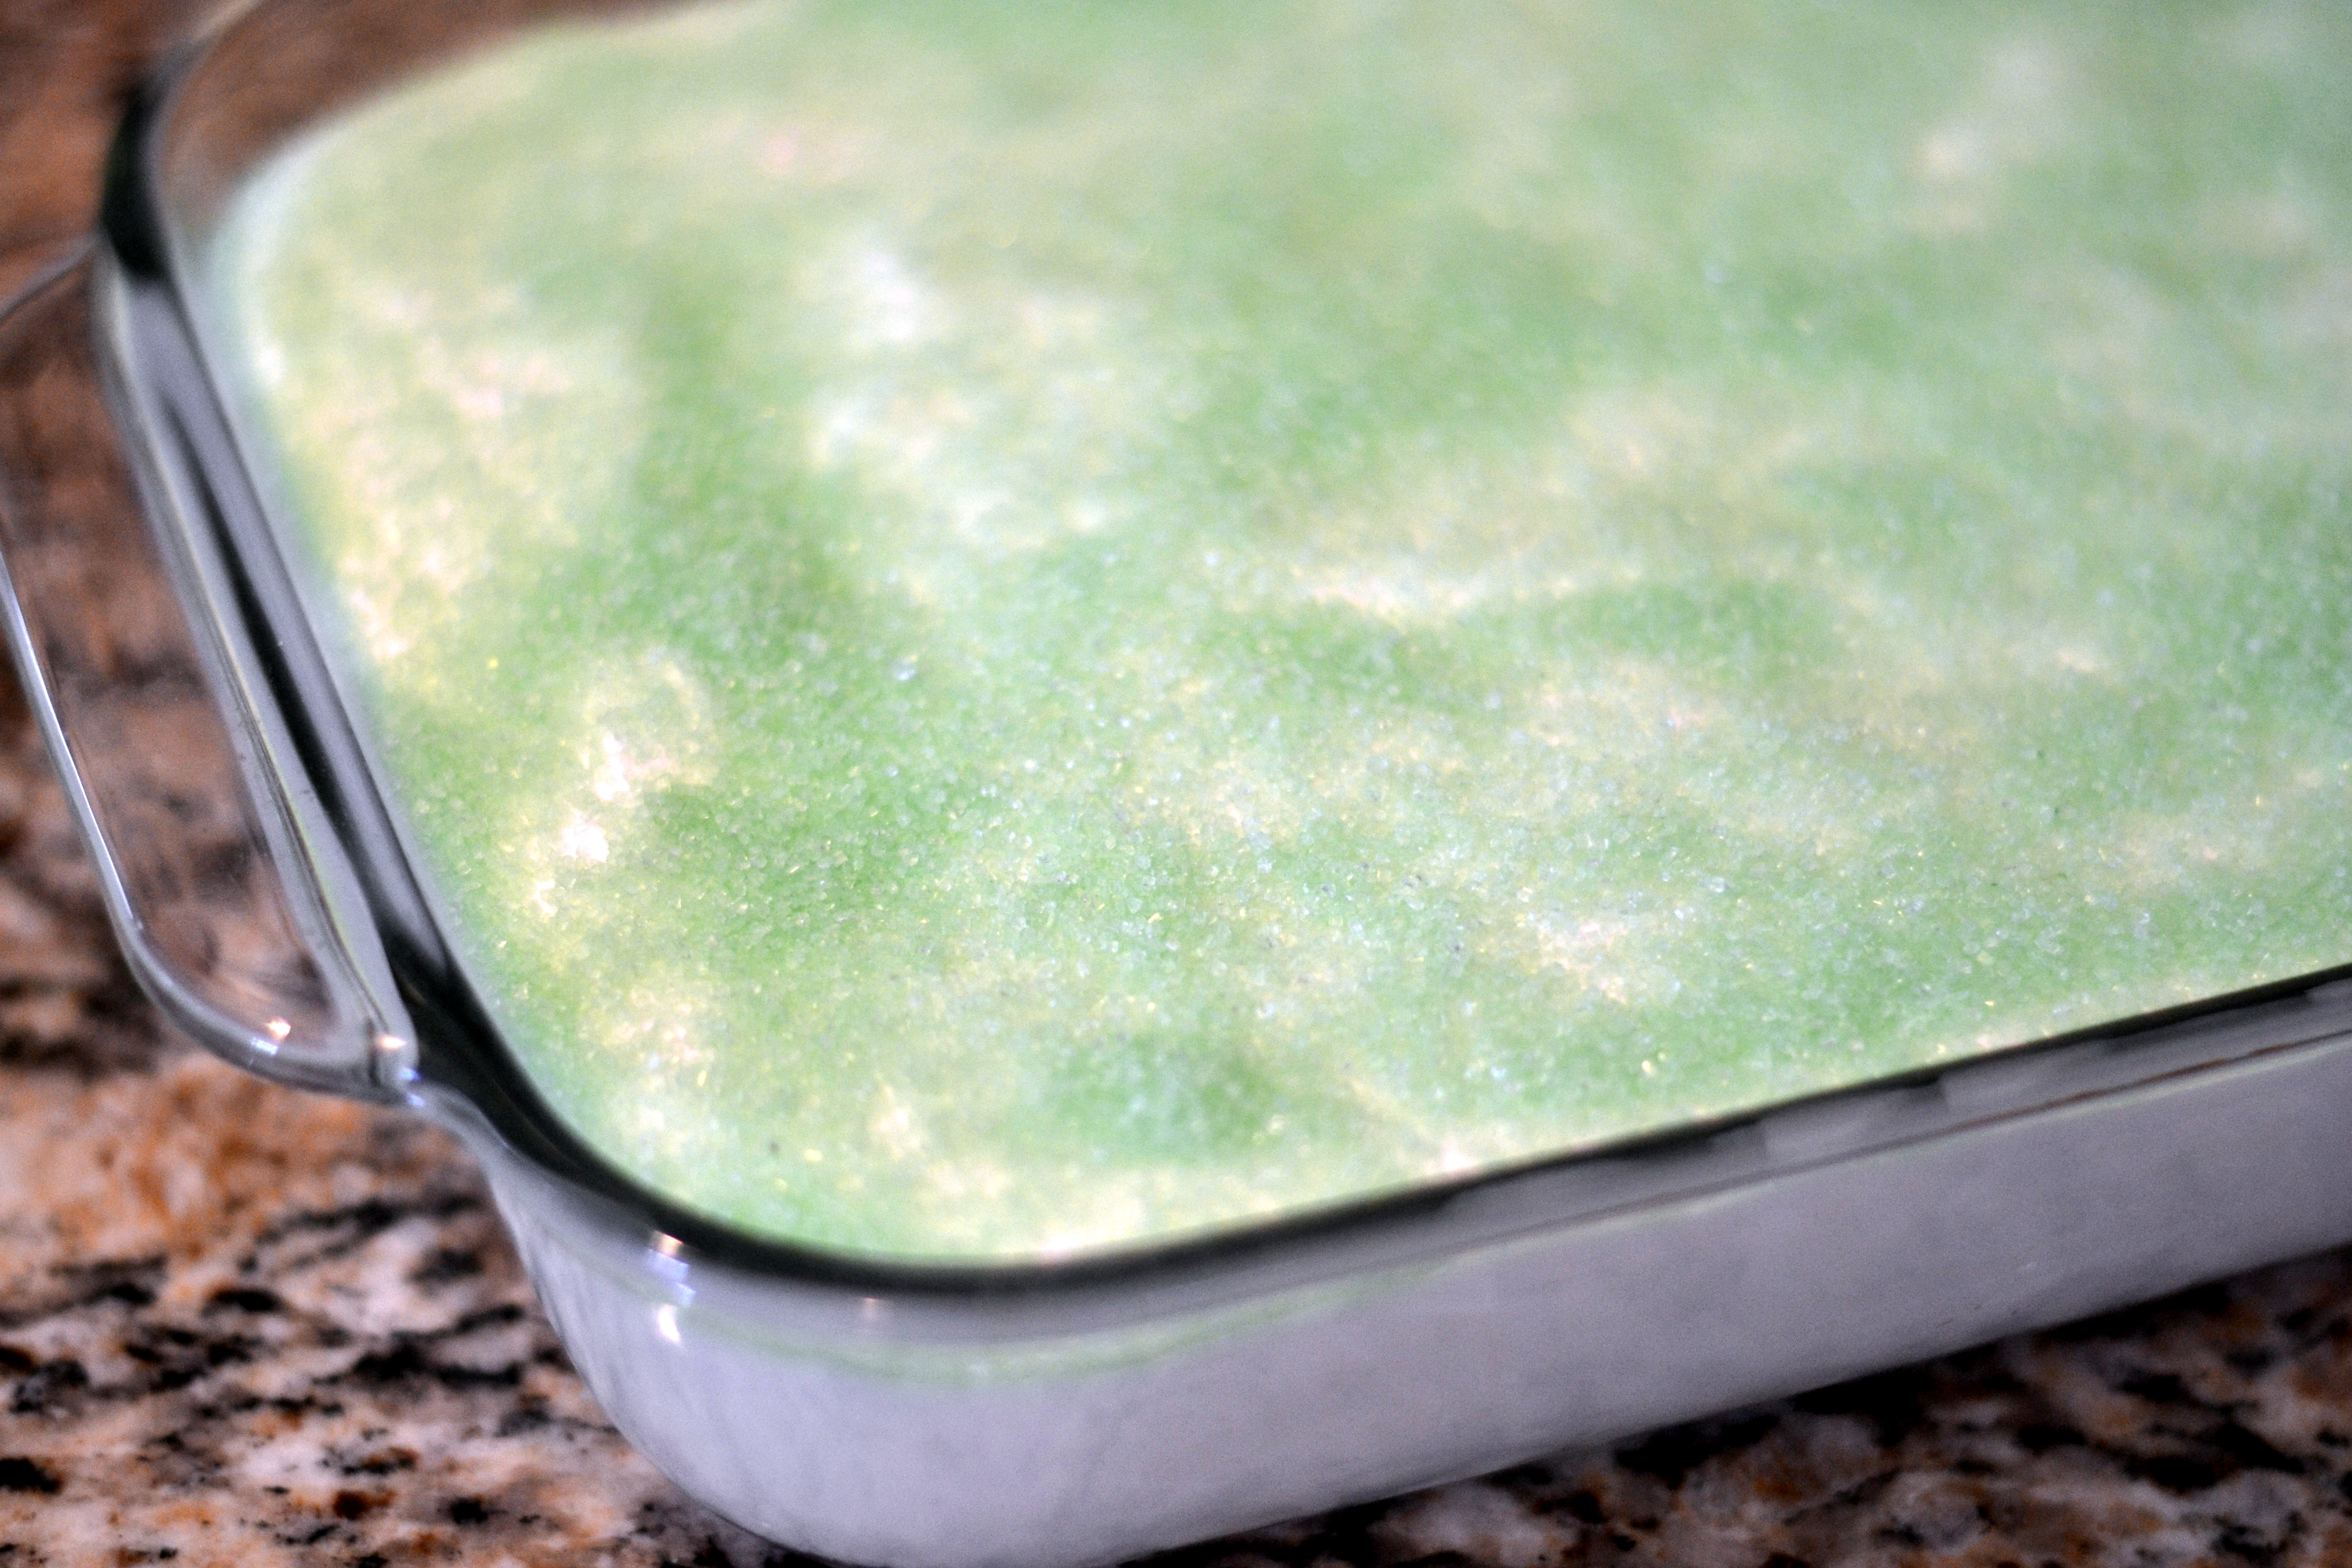
I poured the still warm and gooey vanilla marshmallow creme over the pink sugar in the dish, smoothed out the top with a spatula and then sprinkled the top with the green sugar. At this point, the marshmallow just hung out, uncovered, on my kitchen counter overnight so it could set up perfectly.
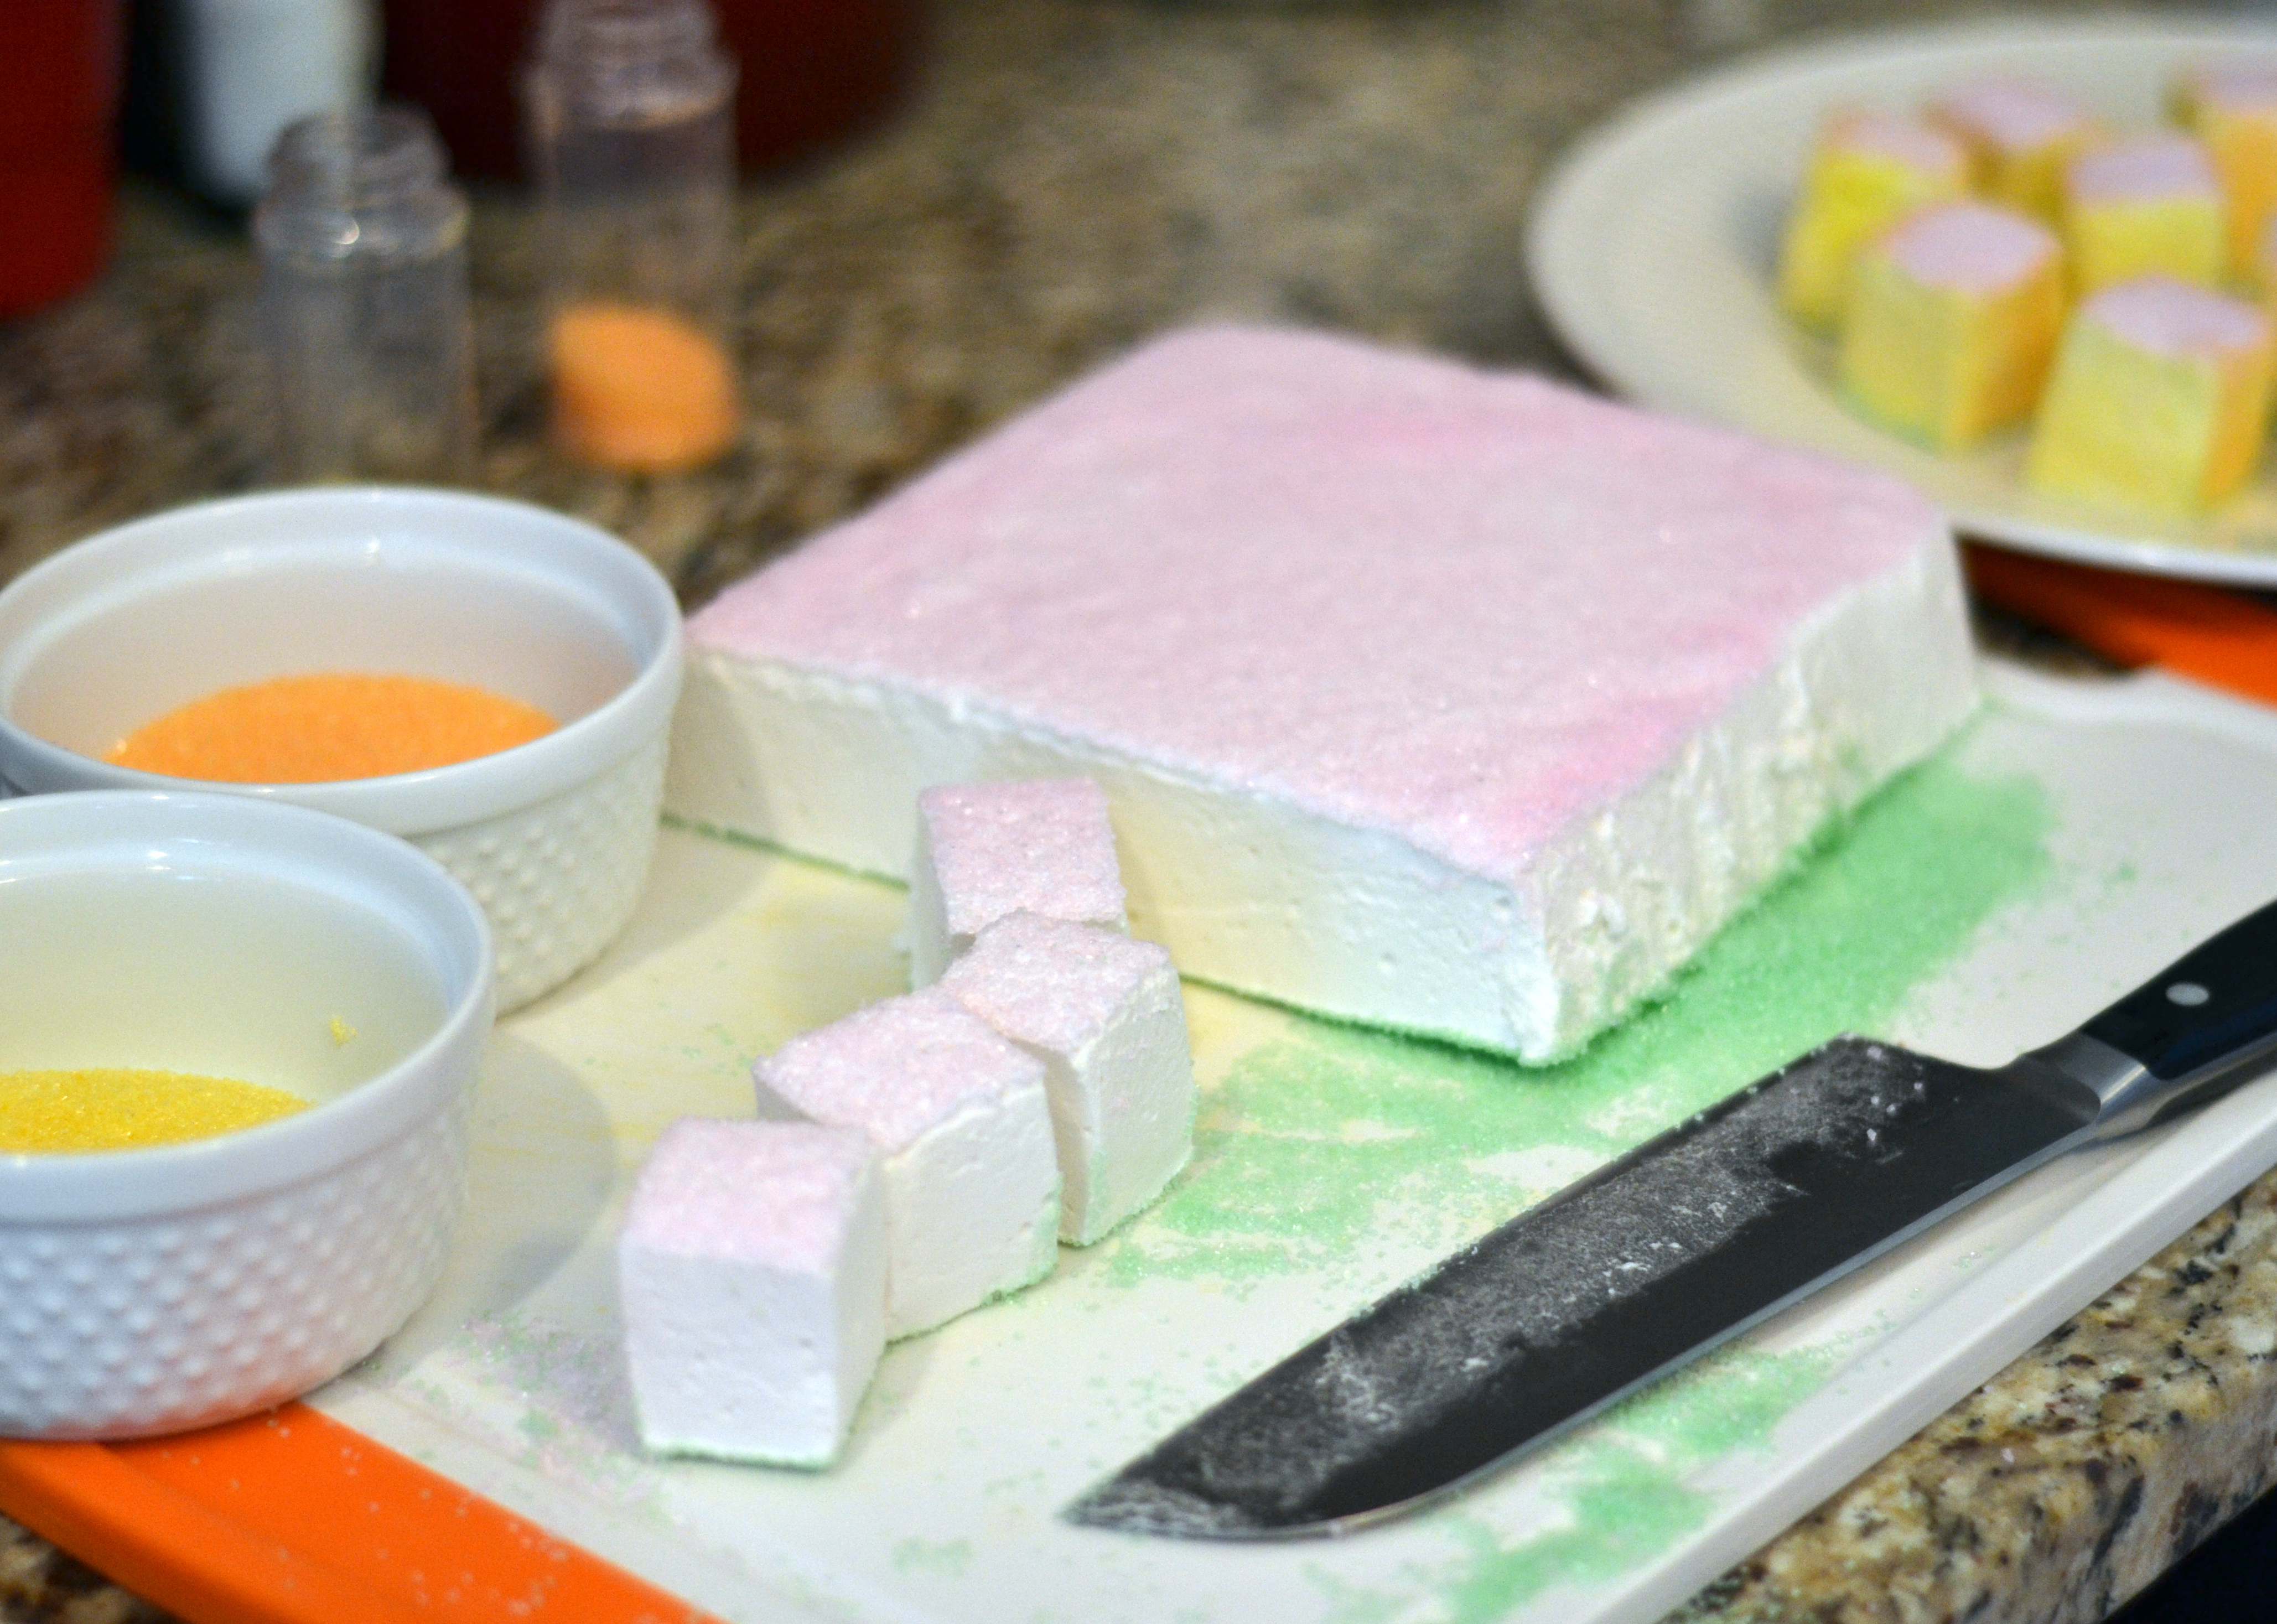
After the kids left for school the next day, I went back into the kitchen to slice up my marshmallows. I ran a sharp knife under some warm water, shook off the excess water and went around the edge of the pan with the knife. A wet knife makes it much easier to slice through the marshmallow as well, so make sure that while you’re slicing your marshmallows, you’re close enough to the sink to rinse the knife often.
After I’d gone around the edges, I turned the pan over onto a cutting board, gave it a few pats on the back and the marshmallow plopped out perfectly! If your marshmallow sticks, try letting some air into the bottom by lifting up a corner with a spatula before trying to turn it out on the board.
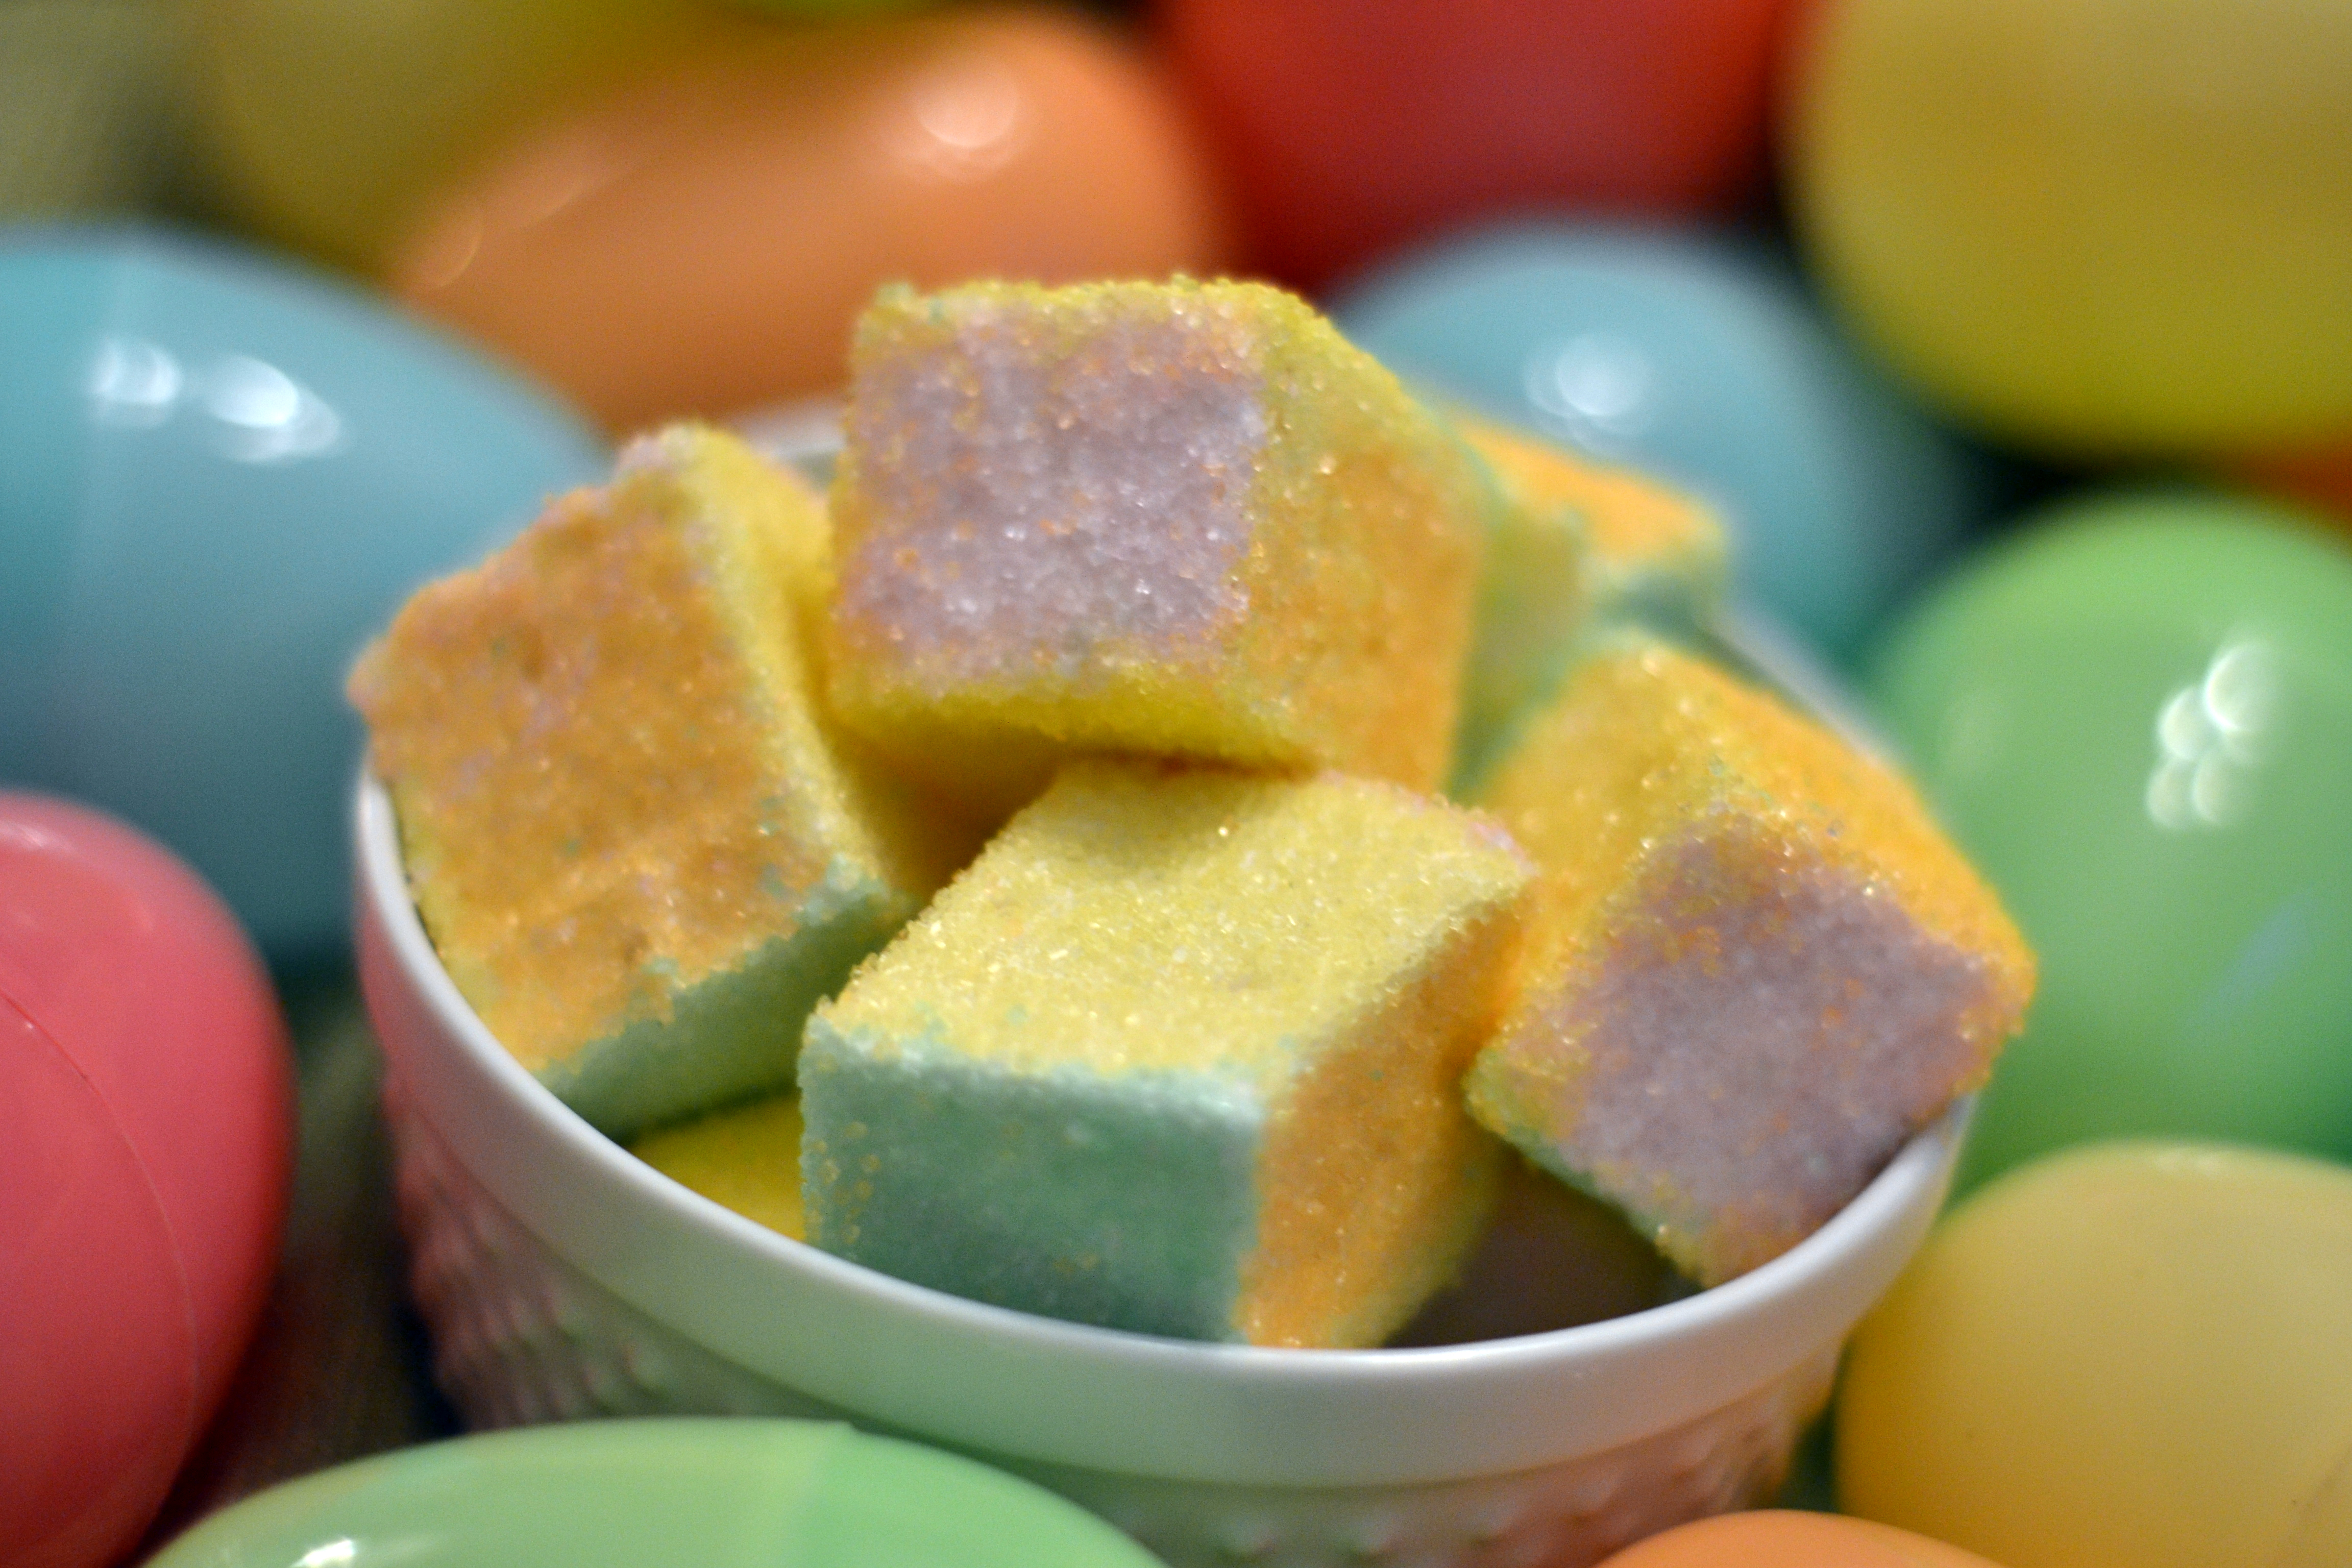
With my wet knife, I carefully sliced the marshmallow into cubes and then dipped the unsugared sides into my orange and yellow sugars.
When I was finished, I had about forty, delicious little spring marshmallows on my hands!! The girls were thrilled when they came home from school and found these yummy little treats waiting for them. And, even covered in sugar, they really enjoyed them in some hot chocolate this morning. 🙂
SPRING SUGARED MARSHMALLOWS
Adapted from Ina Garten
- Spring colored sugars in assorted colors (or, if you’re just making regular marshmallows, substitute powdered sugar to coat the sides)
- 3 packets unflavored Knox gelatin
- 1 1/2 cups sugar
- 1 cup light corn syrup
- 1/4 tsp. kosher salt
- 1 Tbsp. pure vanilla extract
- In the bowl of an electric mixer, combine the unflavored gelatin and 1/2 cup cold water. Attach the bowl the mixer, fit the mixer with the whisk attachment, and let the gelatin mixture sit for a bit while you make the sugar syrup.
- In a small saucepan, combine the sugar, corn syrup, salt, and 1/2 cup water. Cook over medium heat until the sugar dissolves. Raise the heat to high, add a candy thermometer to the pan and cook until the mixture reaches 240 degrees. Once it has come to temperature, remove it from the heat.
- With the mixer on low-speed, slowly pour the sugar syrup into the gelatin mixture. Put the mixer on high-speed and whip for about 15 minutes, until the mixture is very thick and light. Add the vanilla and mix well.
- Pour some of the sugar into a 7×11 inch non-metal dish and coat the bottom evenly. Pour the warm marshmallow over the top of the sugar. Spread it out evenly with a spatula, evenly coat the top in another layer of sugar, and let sit out, uncovered, to dry overnight.
- Run a wet knife around the edge of the dish and turn the marshmallow slab out onto a cutting board. With a wet knife, carefully slice the marshmallows into cubes and dip them in the colored sugar. Store in an airtight container at room temperature. Makes 30-40 marshmallows.
- ENJOY!


