


Directions
Outdoor concerts are one of my favorite ways to spend an evening in the summer. We’re very lucky to be surrounded by many different opportunities for musical evenings where we live, and we were excited when some friends of ours asked if we’d like to join them for a night with the Indianapolis Symphony Orchestra under the stars last week.
Just a few short days ago, the weather was brutally hot around these parts, as it was in most of the country. So, trying to figure out what to bring for our symphony picnic proved tricky. I wanted food that would keep us cool, that wouldn’t weigh us down in the heat. I also needed food that wouldn’t melt, and that was easily transportable in a small rolling cooler.
And, I had five pounds of Michigan blueberries that I’d just purchased.
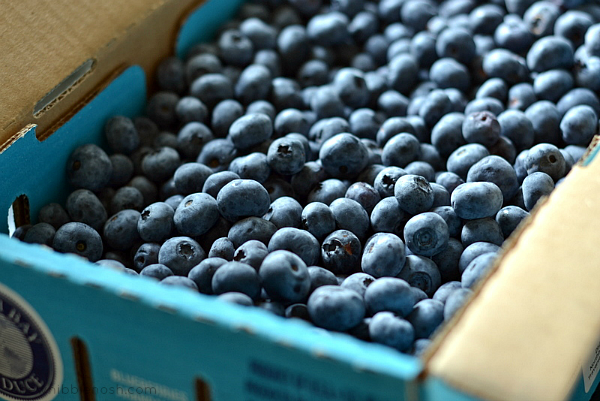
I knew I wanted to work them in somehow.
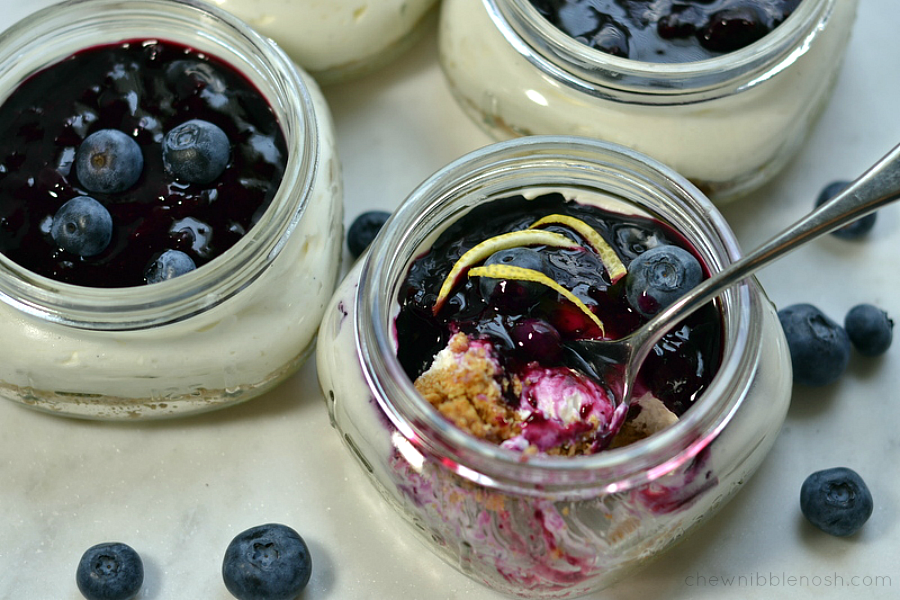
Enter these fabulous little cheesecakes. I ran across the recipe online and they ended up being just the perfect thing for our night out. They were deliciously light and creamy, cool and bright, perfectly portioned, and they checked every must-have off of my list. And, I’m proud to say, that after five years of food blogging, I’ve finally made something in a Mason jar. I’m nothing if not on top of all the trends, right? #loveagoodjar
I started out by making my simple blueberry sauce for the topping. This part requires some chill time, so you can make it up to a few days in advance. I made it the morning of, but you can do it earlier if need be. It was simply a heap of those fresh, beautiful blueberries, sugar, cornstarch and lemon juice.
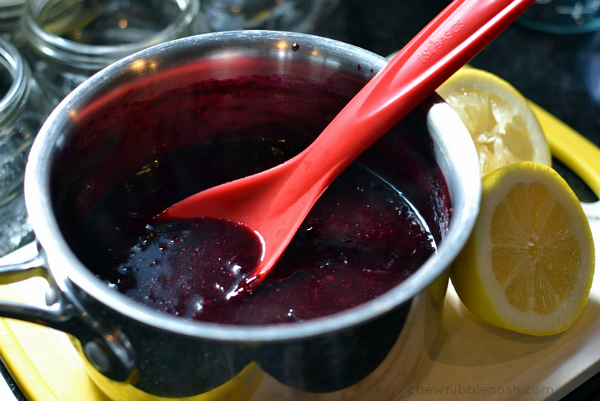
It took mere minutes to cook into this beautiful, berry studded sauce. I poured it into a bowl and allowed it to cool a bit before putting it in the fridge to chill through.
Time to make the cheesecakes. I started with my crust. I simply crushed a stack of graham crackers, mixed the crumbs with some melted butter and sugar, and then spooned a couple of tablespoons into each small jar.
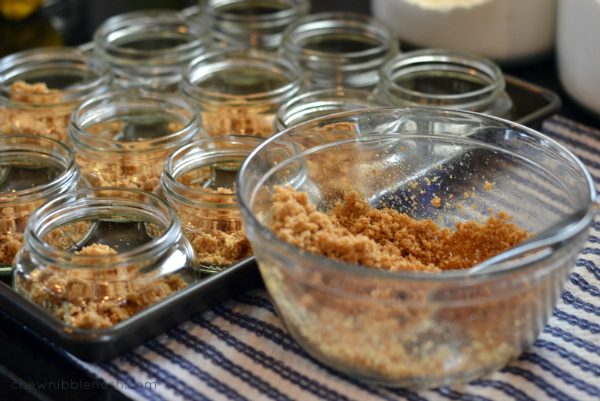
Once the crumbs were divided evenly, I pressed the crust into the bottoms of the jars with a spoon until I had a nice, firm layer.
Then, I got to work on my cheesecake.
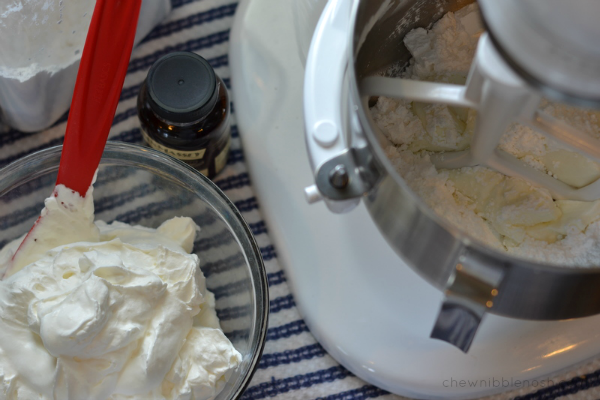
First, I whipped a cupful of fresh whipping cream to stiff peaks. In another bowl, I got to work on the bulk of the filling. The cheesecakes are tangy and fresh, brought to life with cream cheese, Greek yogurt, and a bit of powdered sugar.
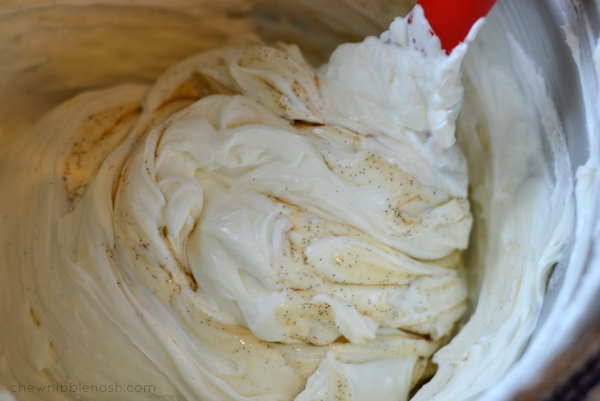
I finished off my cheesecake mixture with a swirl of Vanilla Bean Paste before folding in my whipped cream to lighten it up. I love those little vanilla speckles!
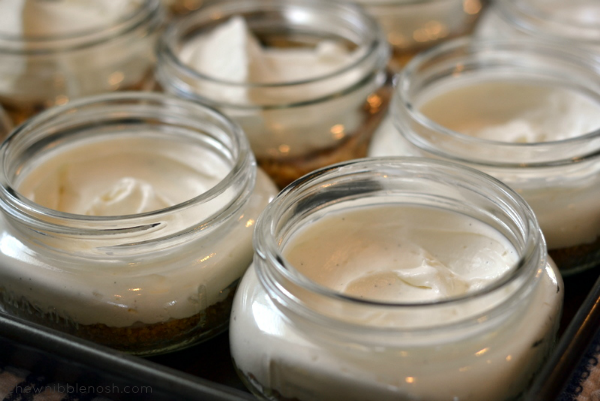
Once the cream was folded in, and the filling light and airy, I spooned it carefully into each jar. I made sure to spread the cheesecake filling evenly over the crusts, topping it off, and pressing filling into all of the air bubbles, until the jar was filled just to the bottom of the lip of the jar. Then I tried to “seal” the jar with the filling, so that the blueberry filling would rest right on top and not seep down into the jar. I wiped the smudged cheesecake filling from the edges of the jars and they were ready to be topped.
Since the blueberry filling still wasn’t cooled through, I popped the lids on the cheesecakes and let them hang out in the fridge for about an hour before I finally topped them with that bright, beautiful, blueberry sauce.
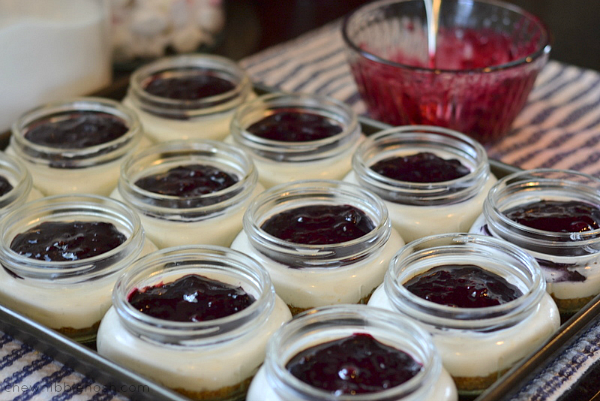
I popped a few more fresh blueberries on top, covered the jars with lids, and put them back into the fridge until we were ready to head to the concert. They were so easy to pack into the cooler. Easily stackable and perfectly portioned for each of our friends. (Whoever came up with this dessert in a Mason jar thing was pretty smart!) Although, I have to admit, I think it would work out just as beautifully in a 9×13 inch dish for a big crowd, if you don’t want, or need, to divvy it up ahead of time.
It was a beautiful, albeit very warm, night with the symphony. The lightning bugs fluttered around us, kids played, wine was poured, the woman in front of us played air piano (it was a sight to behold), and we had a wonderful night with good friends. And, we capped it off with the perfect dessert.

MINI NO-BAKE BLUEBERRY CHEESECAKES
- For the Blueberry Sauce:
- 3 cups fresh blueberries (could substitute frozen)
- 1/4 cup water
- 3 Tbsp. sugar
- 1 tsp. corn starch
- 1 Tbsp. fresh lemon juice
- For the Crust:
- 2 cups graham cracker crumbs (from about 15 crackers)
- 1 Tbsp. sugar
- 1/2 cup (1 stick) butter, melted
- For the Filling:
- 1 1/2 cups heavy cream
- 2 (8 oz.) blocks cream cheese (I used reduced fat), room temperature
- 1 1/2 cups plain Greek yogurt
- 1 cup powdered sugar
- 1/2 Tbsp. Vanilla Bean Paste (or 1 tsp. vanilla extract)
- For Assembly:
- 12 (8 oz.) half-pint, wide mouth Mason jars
- extra blueberries for topping, if desired
- Set aside 1/2 cup of the blueberries for topping at the end, and place the rest of the berries in a small saucepan. Add the water, sugar, and cornstarch.
- Place the pan over medium-high heat, stir the mixture to combine, and mash a bit with a potato masher as the mixture cooks. Break up most of the berries, but leave a few chunks.
- Cook, stirring, for about 4 minutes, until the sauce has thickened a bit and is brightly colored. Remove from the heat and stir in the lemon juice.
- Cool a bit on the counter, and then cover and refrigerate until chilled. Can be made up to 5 days in advance.
- In a medium-sized bowl, stir together the graham cracker crumbs and sugar. Drizzle in the melted butter and stir with a fork until evenly coated.
- Spoon about 2 1/2 tablespoons of crust into each jar, and then using a spoon, press the crust into the bottom of the jars in an even layer.
- Using the whisk attachment for a stand mixer, whip the cold cream until it holds stiff peaks, about 3-5 minutes. Gently scoop the whipped cream from the mixer bowl into another bowl and set aside.
- In the stand mixer bowl, beat the cream cheese, yogurt and powdered sugar until smooth and creamy, about 2-3 minutes. *Start on low speed until sugar is incorporated, then raise the speed.
- Stir Vanilla Bean Paste into the cheese mixture.
- Gently fold the whipped cream into the cheese mixture until combined.
- Carefully spoon about 1/3 cup of the cheesecake mixture into each Mason jar. Press the cheesecake in with a spoon to fill in all the air pockets, add a little more if need be. Make sure to close off the air gaps.
- Continue until all of the jars are filled.
- Use a damp paper towel to wipe the lips of the jars, if they got messy.
- Spoon 2 Tablespoons of the chilled blueberry mixture over the tops of each cheesecake. Repeat until all of the jars are topped.
- Place a few more fresh blueberries on top. Cover with the lids and refrigerate until you’re ready to eat.
- ENJOY!
Adapted from TastesLovely.com